> ## Documentation Index
> Fetch the complete documentation index at: https://manual.voiceping.net/llms.txt
> Use this file to discover all available pages before exploring further.
# タイムトラッキング
> 作業時間を記録するタイムトラッキング機能の使い方
export const FeedbackJa = () => <>
このフィーチャーへのご意見やご要望は、Product Feedback からチームへお送りください。
公式リンク
公式ウェブサイトはこちら
Xでフォロー
Facebookでいいね
LinkedInでつながる
;
タイムトラッキング機能で記録した作業は、プロジェクト・時間ごとに整理され、作業メモ(任意)とともにログとして保存されます。
## 作業時間をトラッキングする方法
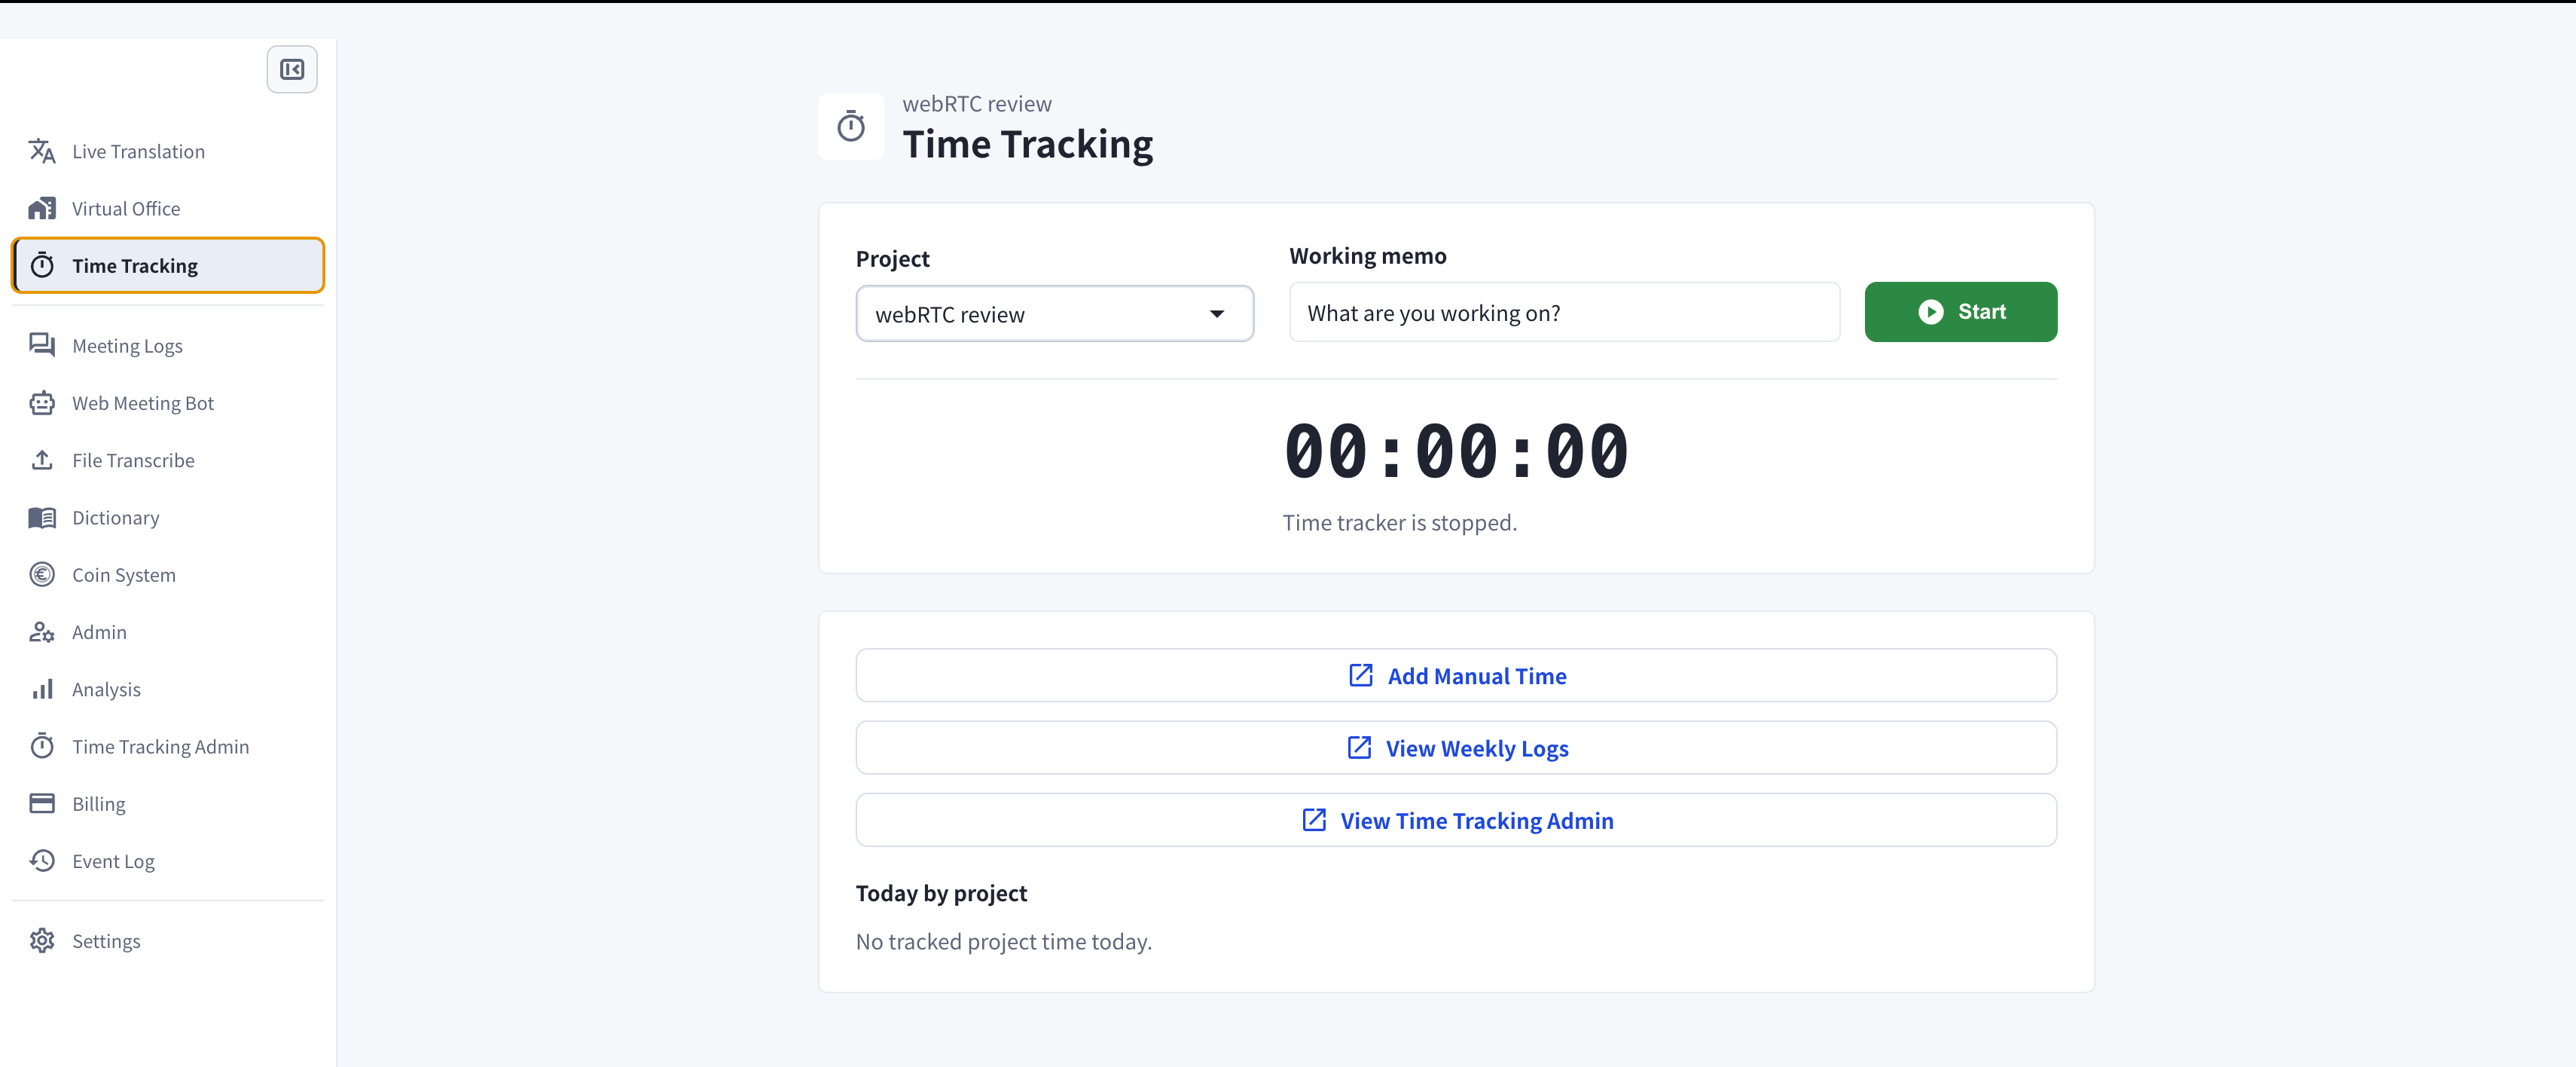
1. 左サイドバーから**タイムトラッキング**を開きます
2. マネージャーが割り当てたプロジェクトの中から、これから作業するプロジェクトを選択します
3. 作業メモを入力します(任意)
4. **開始**をクリックしてトラッキングを開始します
5. 作業後、**停止**をクリックしてトラッキングを終了します
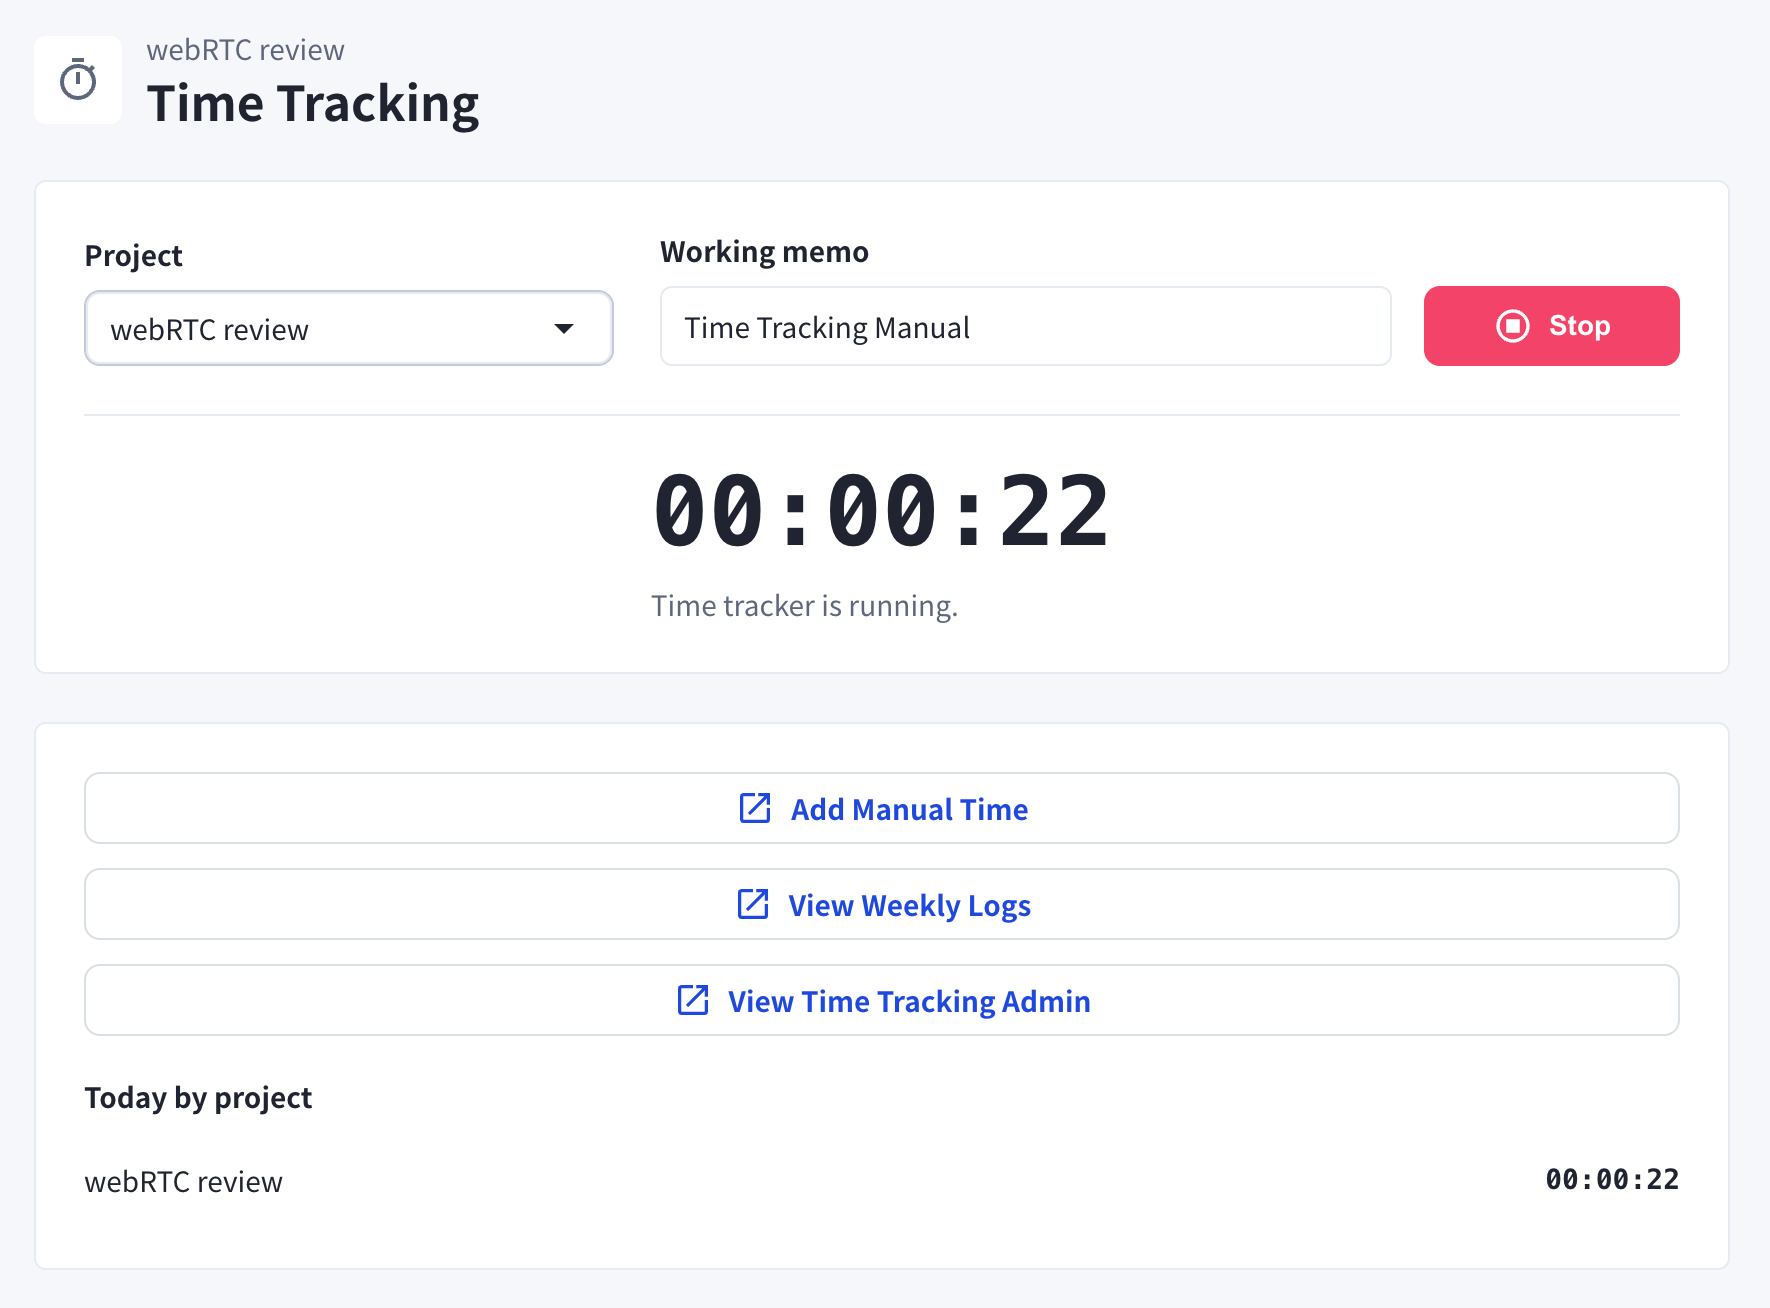 **タイマーが自動停止されるケース**
1. 退席中ステータスになった場合
* 席に戻り、PC操作を再開すると、タイマーは自動で再開されます。
2. PCがスリープモードに入った場合
## 作業時間を手動で追加
記録されていない作業時間がある場合は、手動で追加できます。
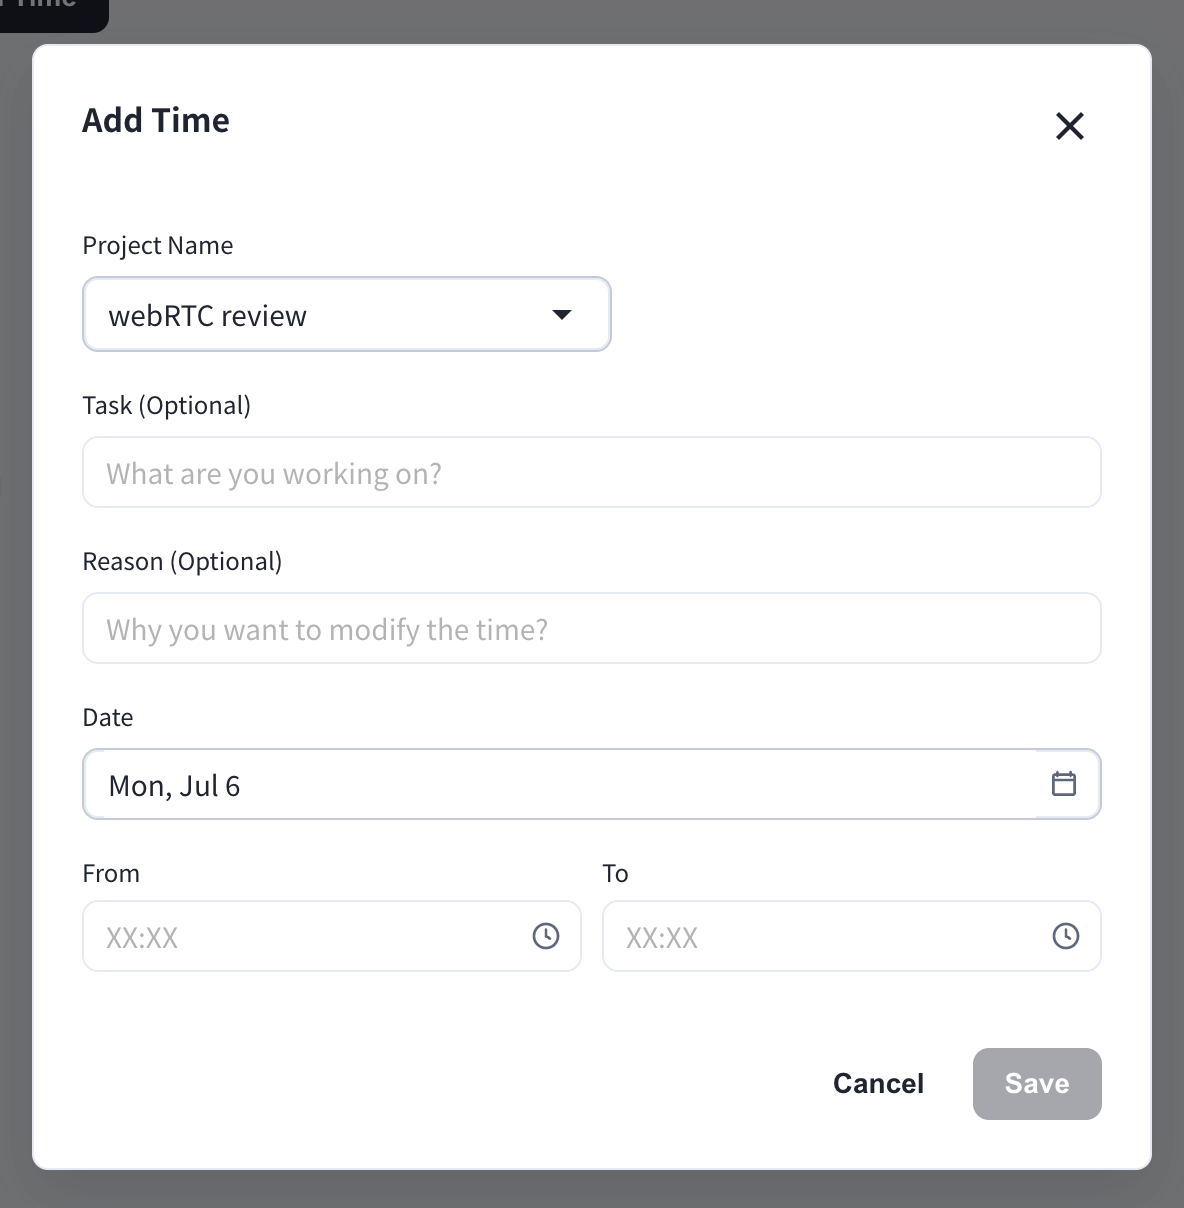
1. **タイムトラッキング**ページで**手動で時間を追加**をクリック
2. プロジェクトを選択し、必要に応じてタスクと変更理由を入力
3. 日付と時間範囲(From / To)を選択
4. **保存**をクリック
**タイマーが自動停止されるケース**
1. 退席中ステータスになった場合
* 席に戻り、PC操作を再開すると、タイマーは自動で再開されます。
2. PCがスリープモードに入った場合
## 作業時間を手動で追加
記録されていない作業時間がある場合は、手動で追加できます。
1. **タイムトラッキング**ページで**手動で時間を追加**をクリック
2. プロジェクトを選択し、必要に応じてタスクと変更理由を入力
3. 日付と時間範囲(From / To)を選択
4. **保存**をクリック
 手動での追加・削除は**手動変更ログ**に記録され、マネージャーが確認できます。
## 自分のタイムトラッキングを確認
メンバーは自分のログのみ確認できます。マネージャーは全メンバーのログを確認できます。
### 1. 週間報告
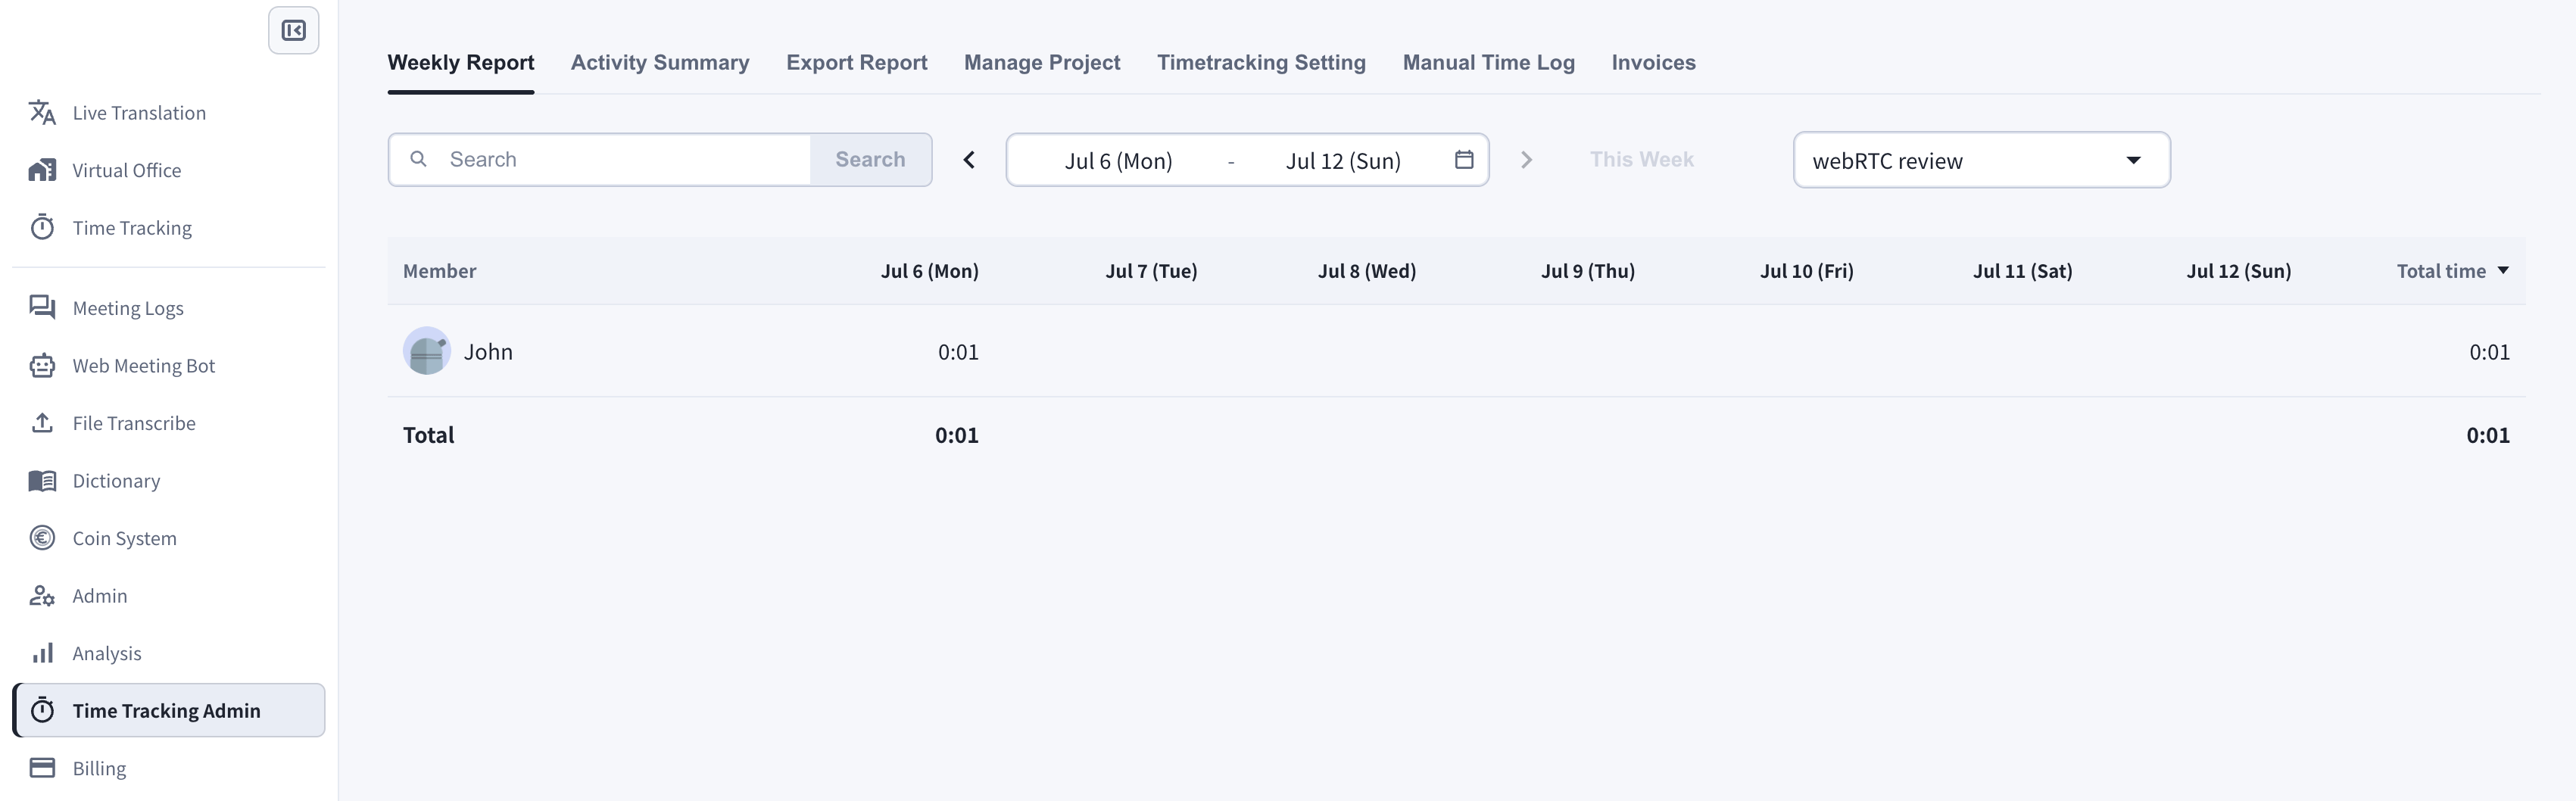
1. **タイムトラッキング**ページで**週間ログを表示**をクリック
2. 週とプロジェクトを選択
3. 日ごと・週ごとの合計を確認
手動での追加・削除は**手動変更ログ**に記録され、マネージャーが確認できます。
## 自分のタイムトラッキングを確認
メンバーは自分のログのみ確認できます。マネージャーは全メンバーのログを確認できます。
### 1. 週間報告
1. **タイムトラッキング**ページで**週間ログを表示**をクリック
2. 週とプロジェクトを選択
3. 日ごと・週ごとの合計を確認
 ### 2. 作業日誌
**作業日誌**タブでは、1日のトラッキング時間が作業メモとともにタイムラインで表示されます。
### 2. 作業日誌
**作業日誌**タブでは、1日のトラッキング時間が作業メモとともにタイムラインで表示されます。
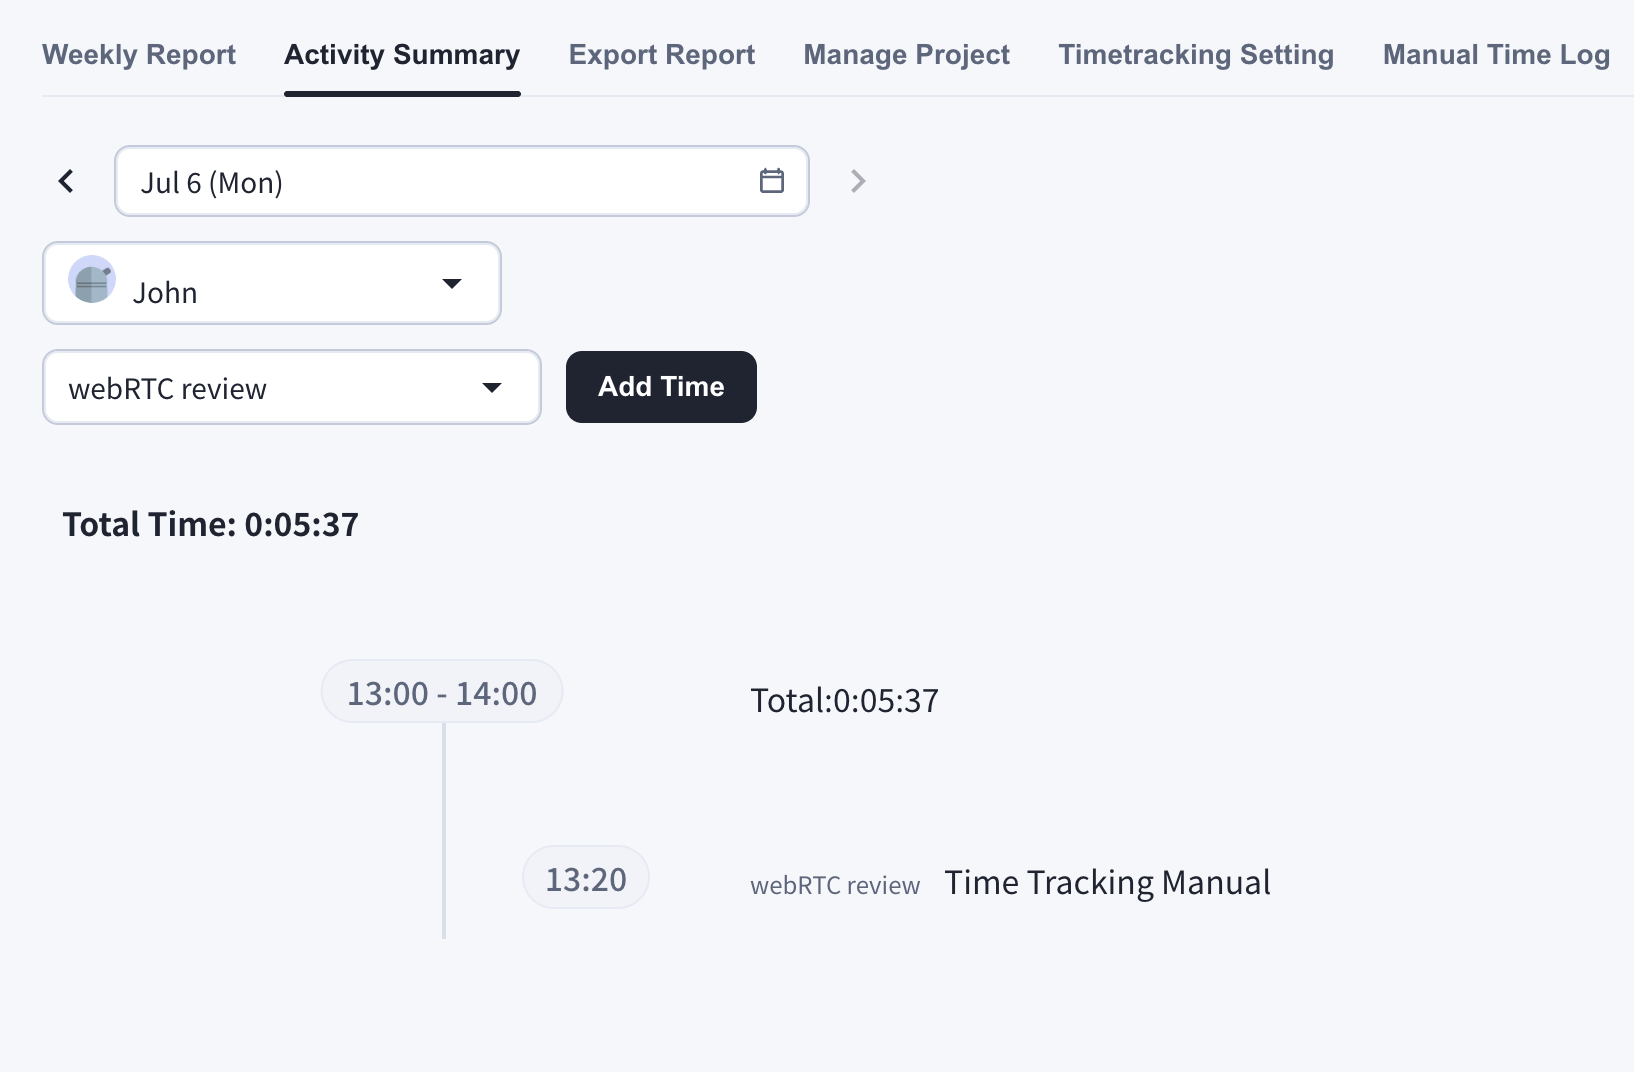 マネージャーがデスクトップスクリーンショット、Webカメラショット、入力アクティビティのトラッキングを有効にしている場合、それらも作業日誌に表示されます。Webカメラキャプチャが有効な場合は、タイムトラッキングページにカメラの選択欄が表示されます。
### トラッキング時間の削除
作業日誌でゴミ箱アイコンをクリックすると、トラッキング時間を削除できます。
以下の範囲で削除できます:
* 1日分を全て削除
* 1時間分を削除
* 10分間のスロットを削除
マネージャーがデスクトップスクリーンショット、Webカメラショット、入力アクティビティのトラッキングを有効にしている場合、それらも作業日誌に表示されます。Webカメラキャプチャが有効な場合は、タイムトラッキングページにカメラの選択欄が表示されます。
### トラッキング時間の削除
作業日誌でゴミ箱アイコンをクリックすると、トラッキング時間を削除できます。
以下の範囲で削除できます:
* 1日分を全て削除
* 1時間分を削除
* 10分間のスロットを削除