> ## Documentation Index
> Fetch the complete documentation index at: https://manual.voiceping.net/llms.txt
> Use this file to discover all available pages before exploring further.
# How to Create & Set Up Floors
> Creating and setting up "Floors" - 2D map-based virtual office spaces
export const FeedbackEn = () => <>
Have an idea or request about this feature? Send it to the team via Product Feedback.
Official Links
Visit our official website
Follow us on X
Like us on Facebook
Connect on LinkedIn
;
The maximum number of floors you can create varies by plan. For details, see [Pricing Plans](/en/pricing).
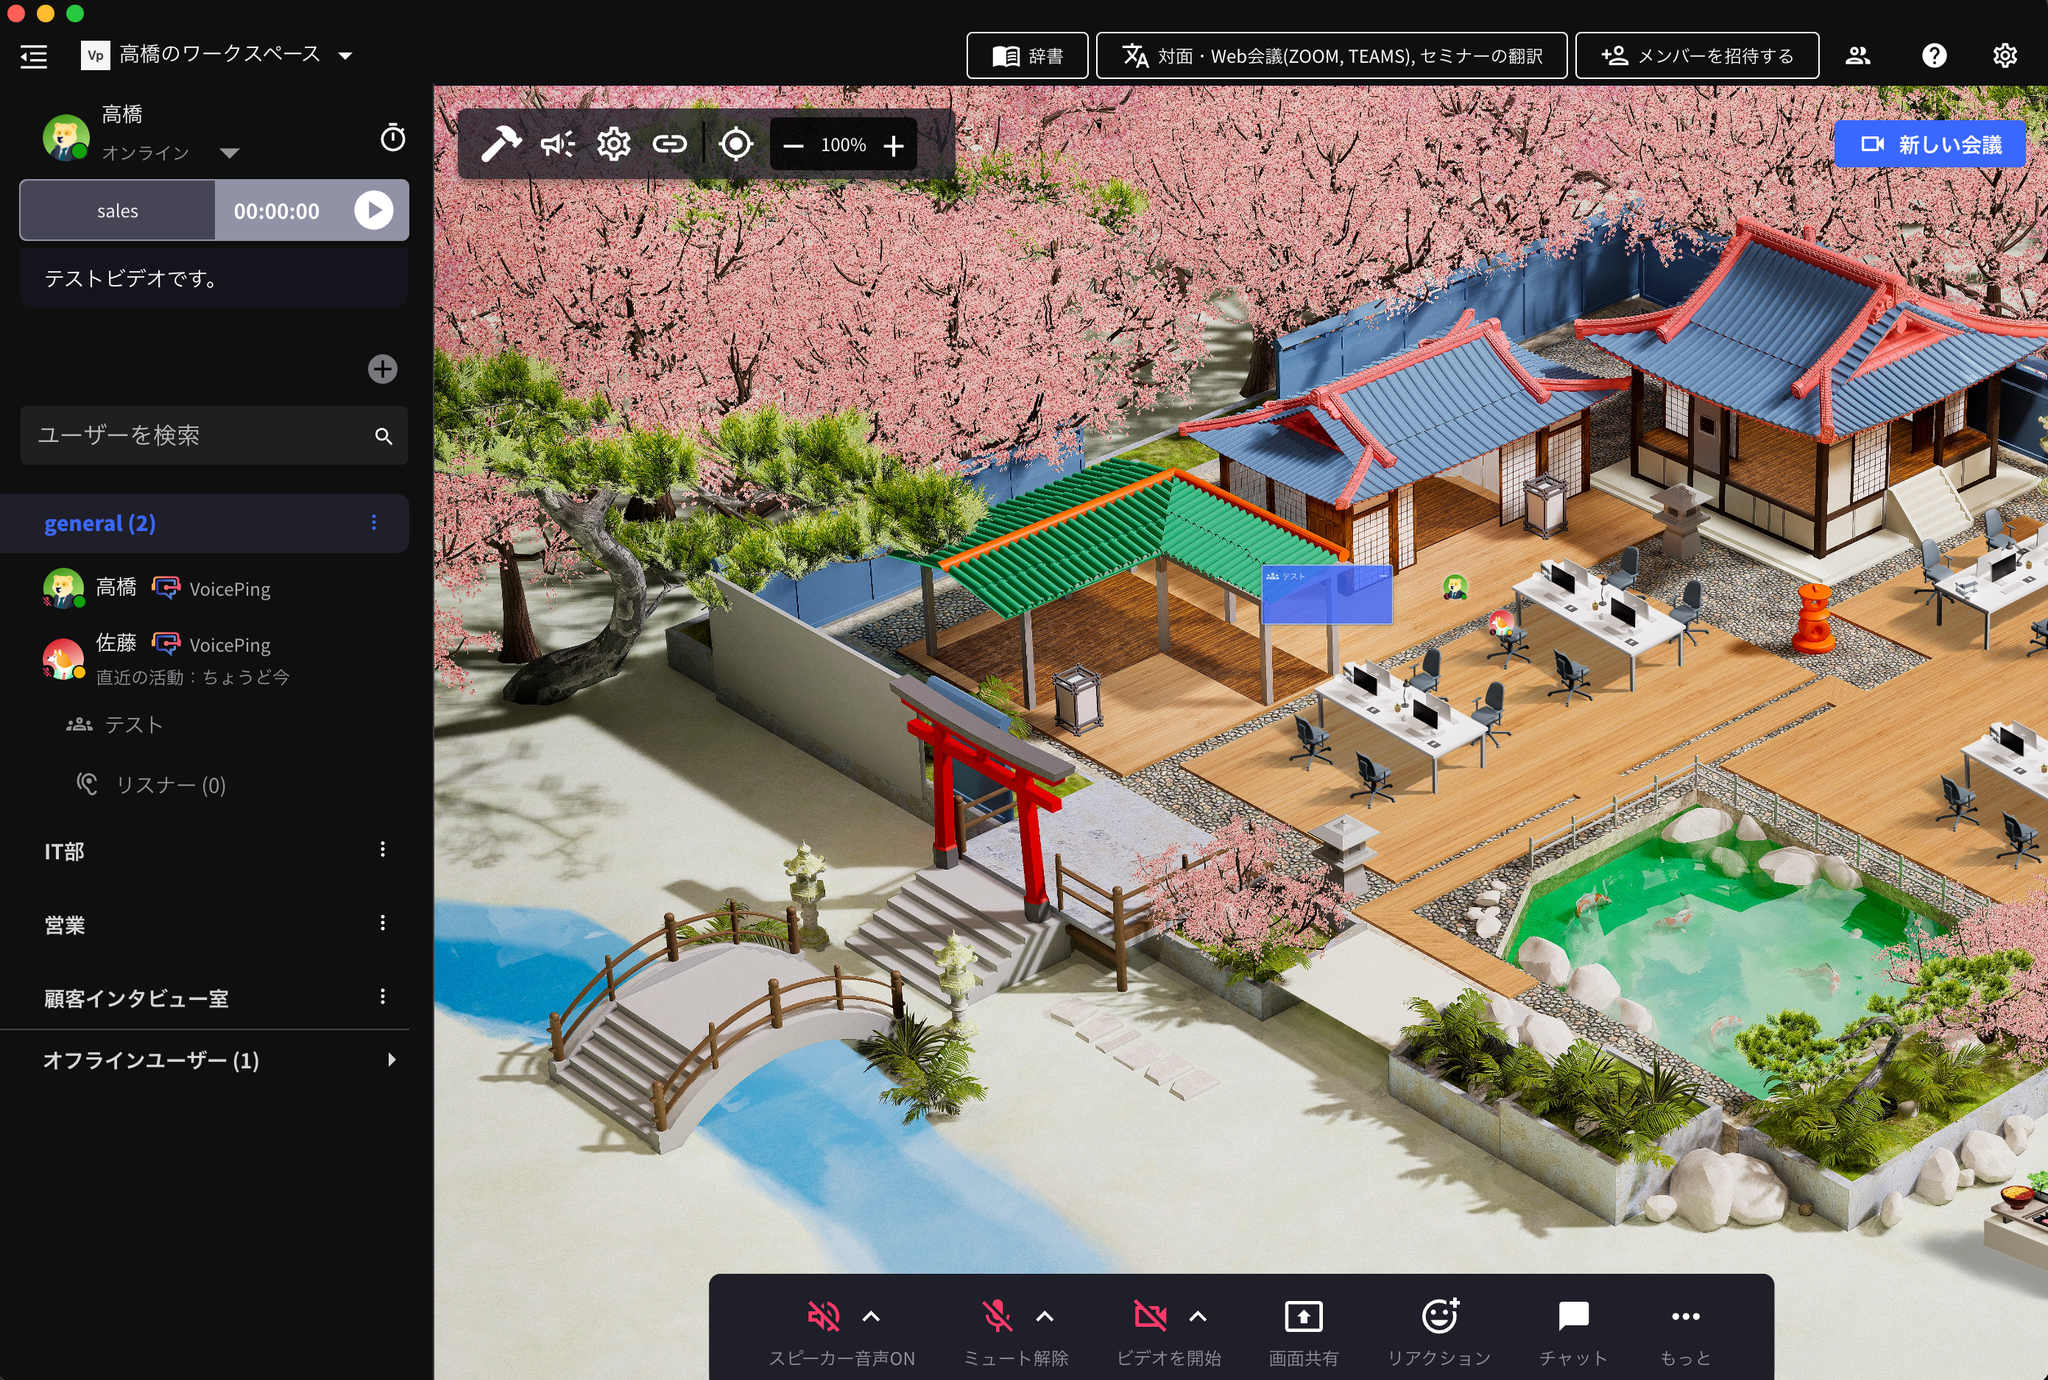
The 2D map-based office space you see when you log in to VoicePing is called a "Floor". Like a real office, it's a space where you can sit at desks to work, chat with nearby team members, or hold meetings.
For example, you can create floors named "general & IT Department & Sales & Customer Interview Room" in a workspace named "Takahashi's Workspace".
 ## How to Create
* You can add by clicking the "+" button at the top of the left menu (see video above).
* You can assign workspace members to each floor.
## Floor Settings
The "Settings (gear icon)" at the top of the app is the floor settings button.
**What you can do from "Settings"**
* Change floor name
* Enable guest web app (allow external guests to access the floor from their browser)
* Customize floor background
* Change assigned members
## How to Create
* You can add by clicking the "+" button at the top of the left menu (see video above).
* You can assign workspace members to each floor.
## Floor Settings
The "Settings (gear icon)" at the top of the app is the floor settings button.
**What you can do from "Settings"**
* Change floor name
* Enable guest web app (allow external guests to access the floor from their browser)
* Customize floor background
* Change assigned members