> ## Documentation Index
> Fetch the complete documentation index at: https://manual.voiceping.net/llms.txt
> Use this file to discover all available pages before exploring further.
# Invite Members & Two-Factor Authentication
> How to invite members to your VoicePing workspace by email or shareable link, set their role and feature access, and require email-based two-factor authentication.
export const FeedbackEn = () => <>
Have an idea or request about this feature? Send it to the team via Product Feedback.
Official Links
Visit our official website
Follow us on X
Like us on Facebook
Connect on LinkedIn
;
* Only **workspace owners and managers** can invite members.
* After registering, invited members should install the app by following the [Member Registration](/en/member-signup) steps.
## Add a Member
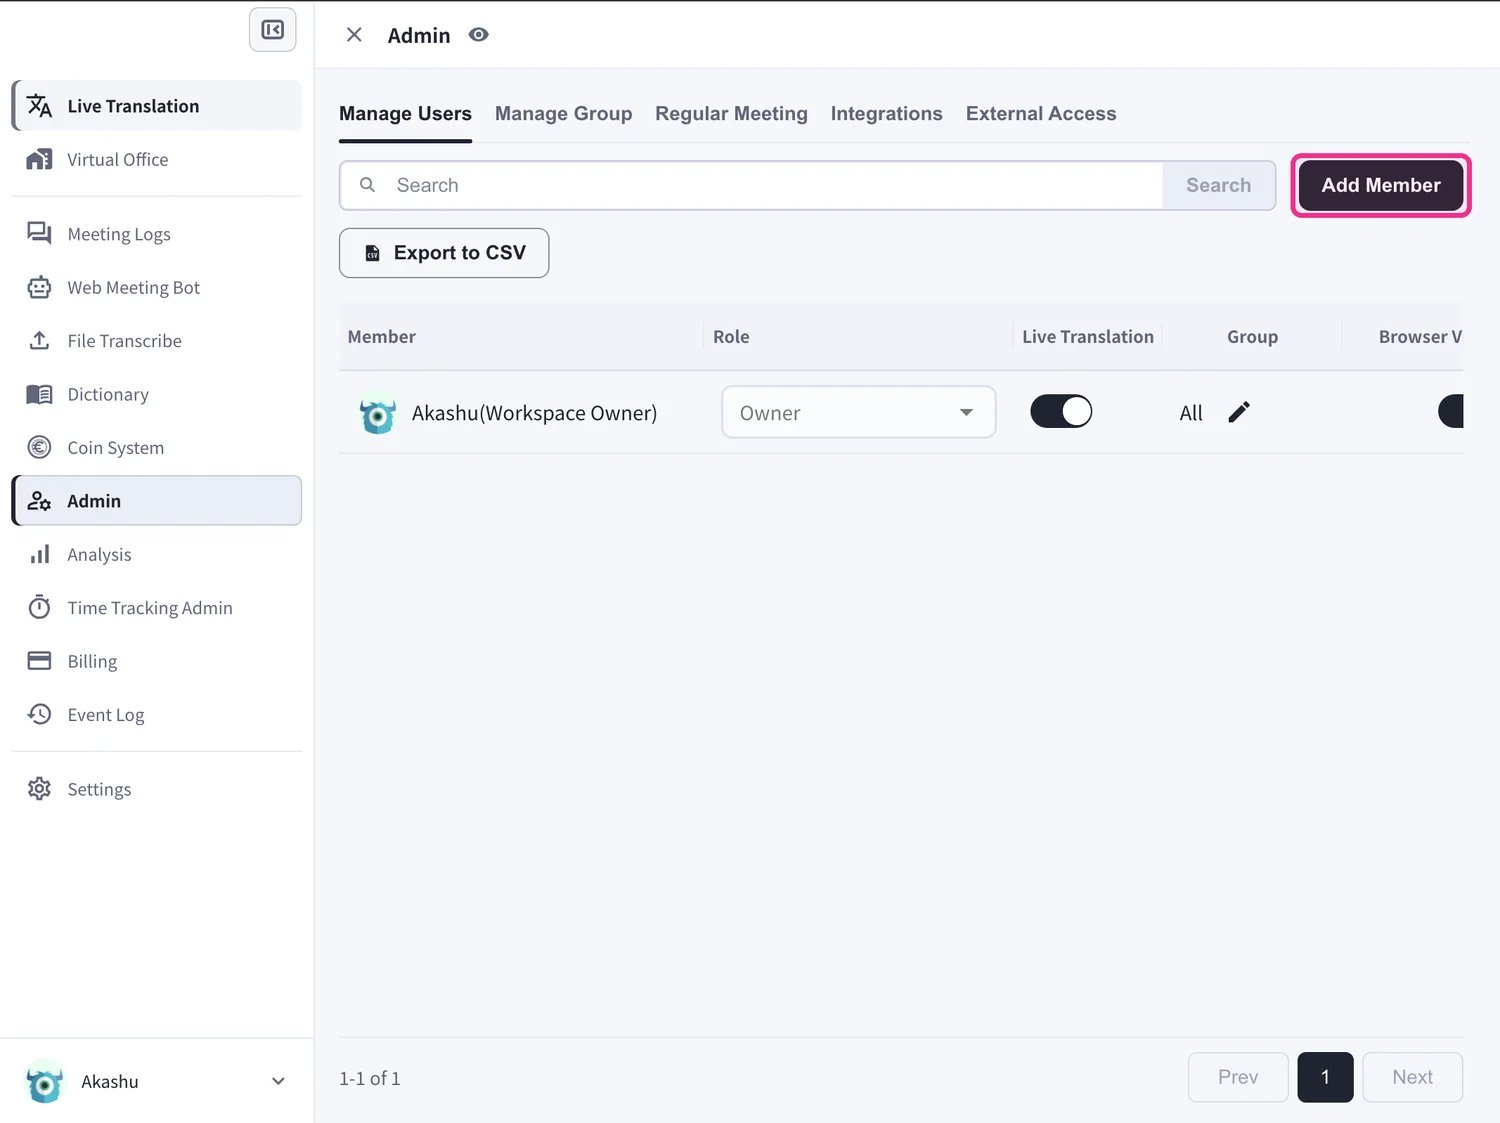
Go to **Admin → Manage Users** and click **Add Member**. Every invite method lives in one dialog with three tabs — **Invite to workspace** (by email), **Manage invites** (track pending invites), and **Invite by URL** (shareable link). There is no longer a separate flow for Virtual Office.
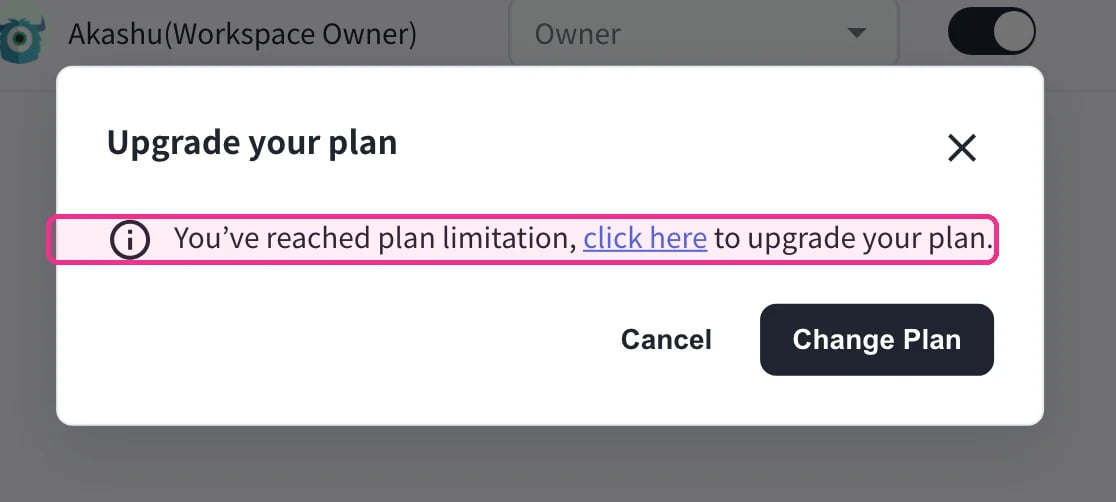
 The **Free** and **Individual** plans are limited to a single workspace user, so **Add Member** shows an "Upgrade your plan" message. Upgrade to Small, Premium, or Enterprise to invite more members.
 ## Invite to Workspace (by Email)
Use this to invite members by email and set their role and access at the same time.
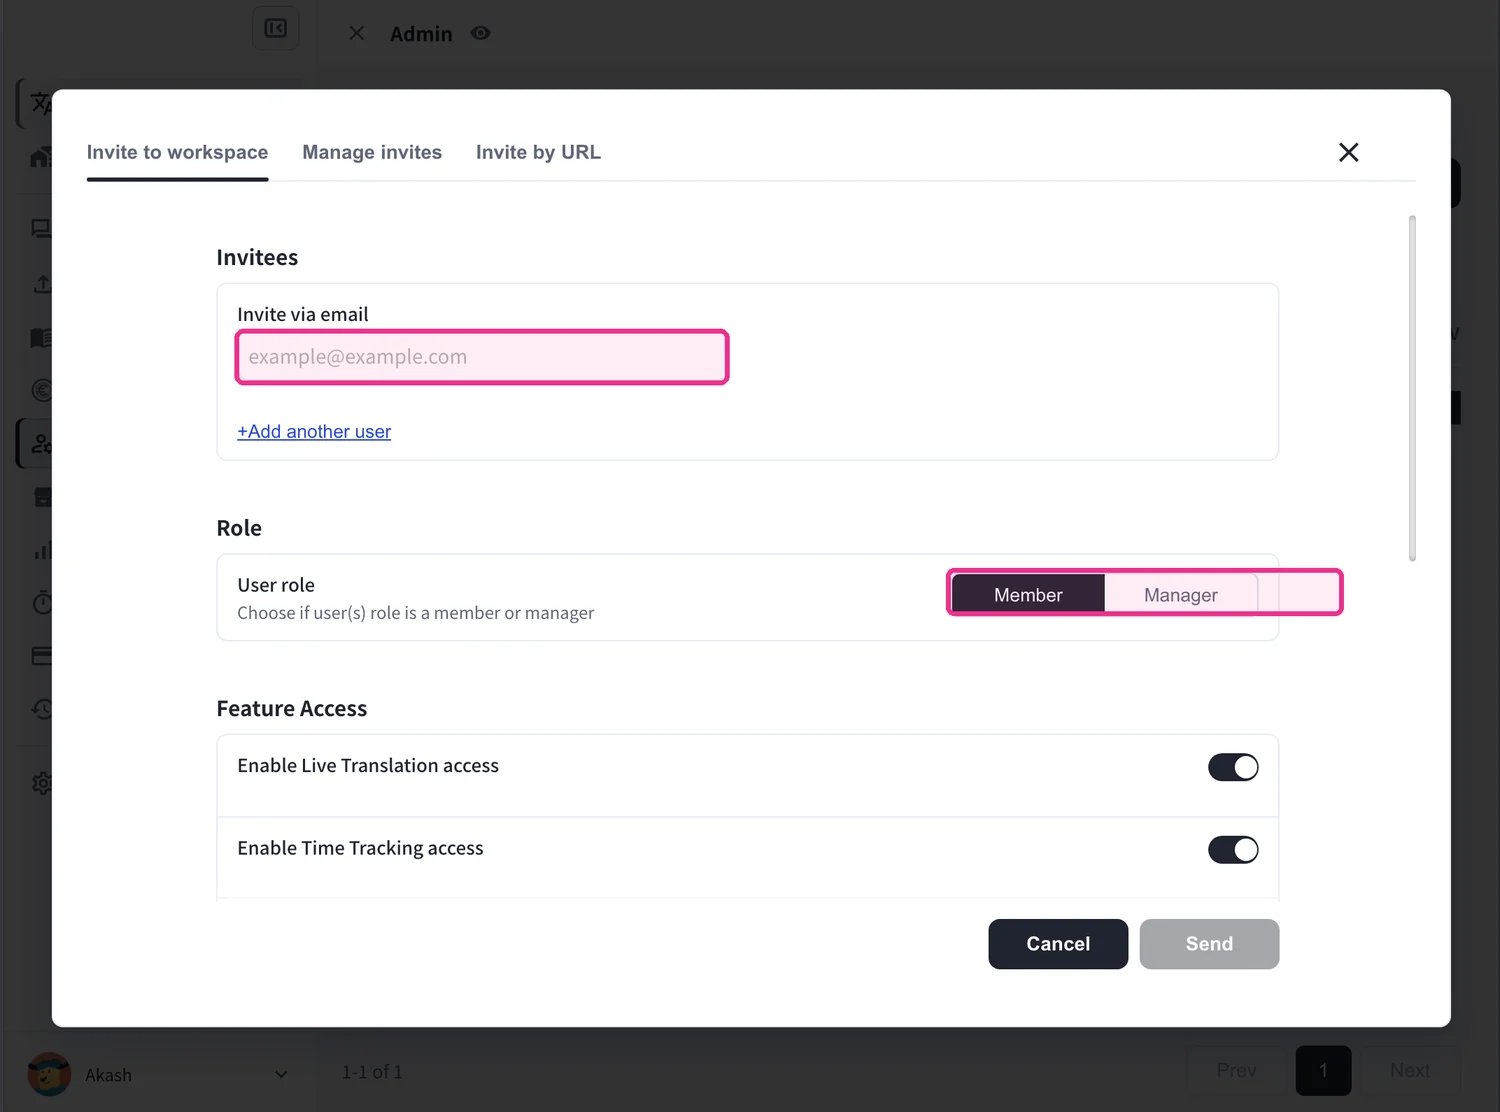
1. Under **Invite via email**, enter the member's email address (use **+Add another user** to invite several at once).
2. Set the **User role** — **Member** or **Manager**.
## Invite to Workspace (by Email)
Use this to invite members by email and set their role and access at the same time.
1. Under **Invite via email**, enter the member's email address (use **+Add another user** to invite several at once).
2. Set the **User role** — **Member** or **Manager**.
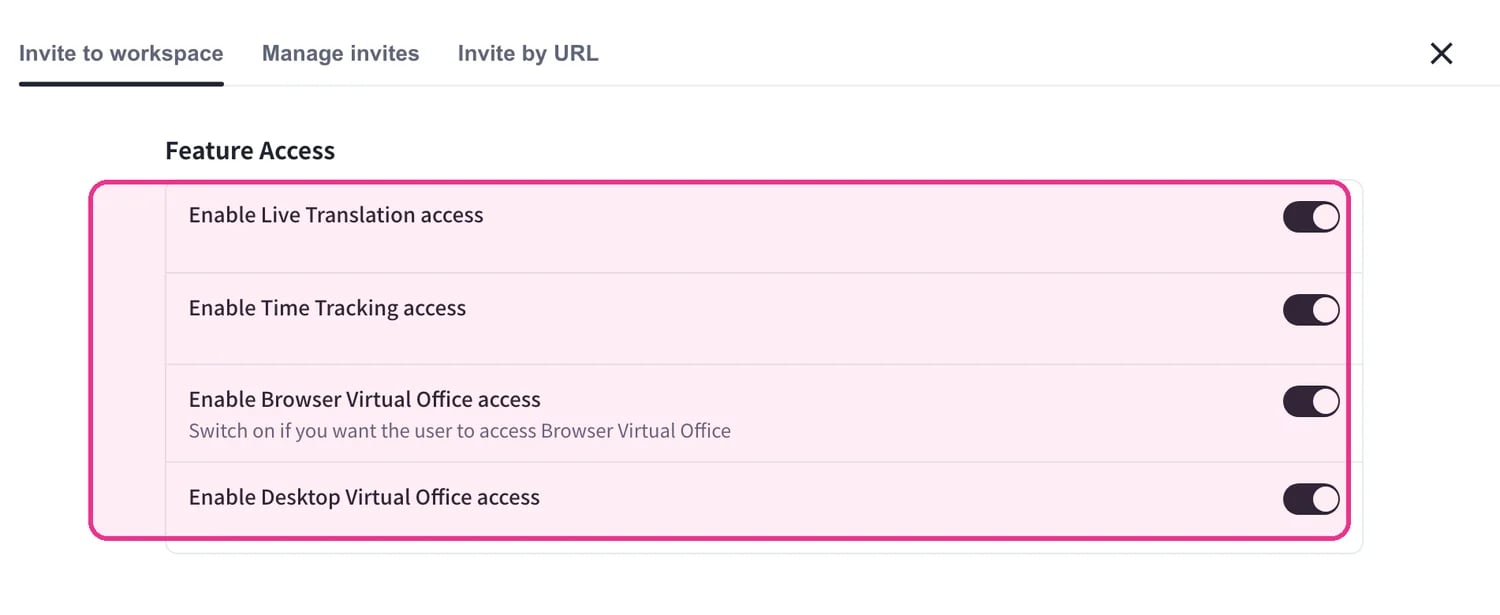
 3. Under **Feature Access**, choose which features the member can use: **Live Translation**, **Time Tracking**, and **Browser** / **Desktop Virtual Office**. Virtual Office access is granted right here — that is why no separate Virtual Office invite section is needed.
 4. Optionally assign the member to **Projects**, **Groups**, and specific **Floors**, and set the **Tracking Options** (Screenshot capture, Webcam shots, Input activity) when Time Tracking is enabled.
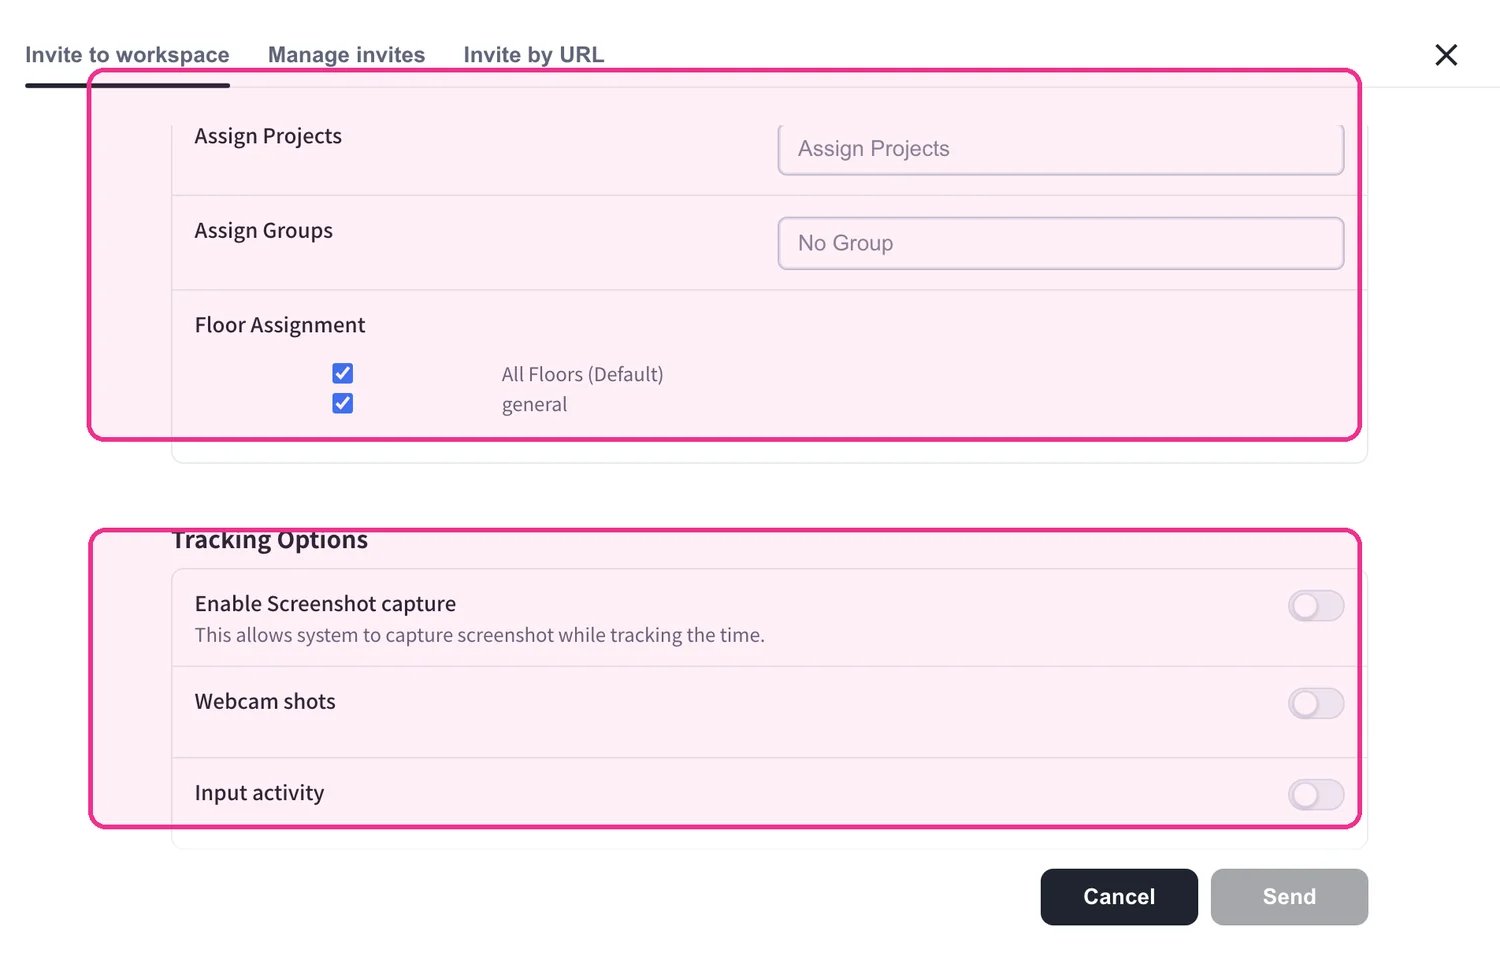 5. Click **Send**. The member receives an invitation email and clicks **Join workspace** to register.
 The email invitation link is valid for **72 hours**.
## Invite by URL
Use this to share a single invitation link instead of entering individual email addresses.
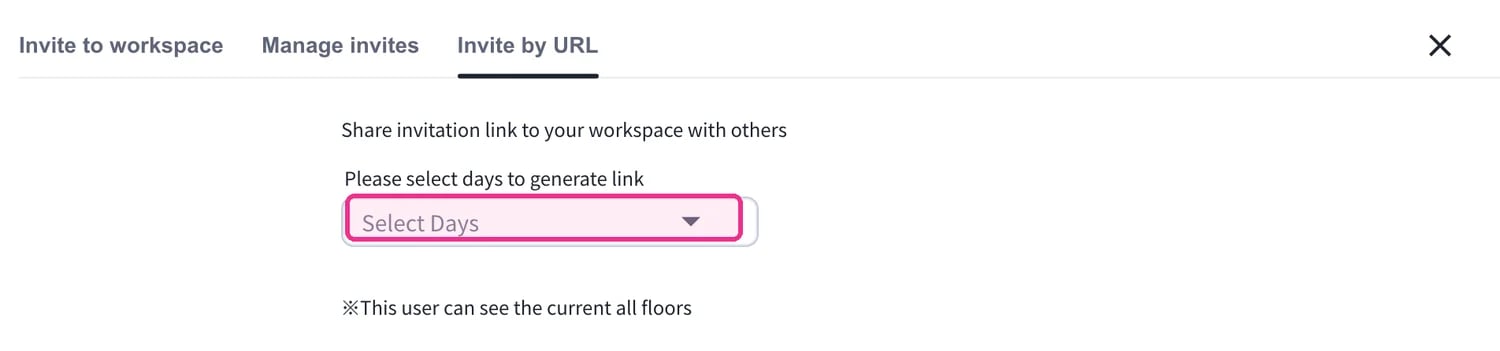
1. On the **Invite by URL** tab, choose how long the link stays valid (**1, 3, 7, or 30 days**).
The email invitation link is valid for **72 hours**.
## Invite by URL
Use this to share a single invitation link instead of entering individual email addresses.
1. On the **Invite by URL** tab, choose how long the link stays valid (**1, 3, 7, or 30 days**).
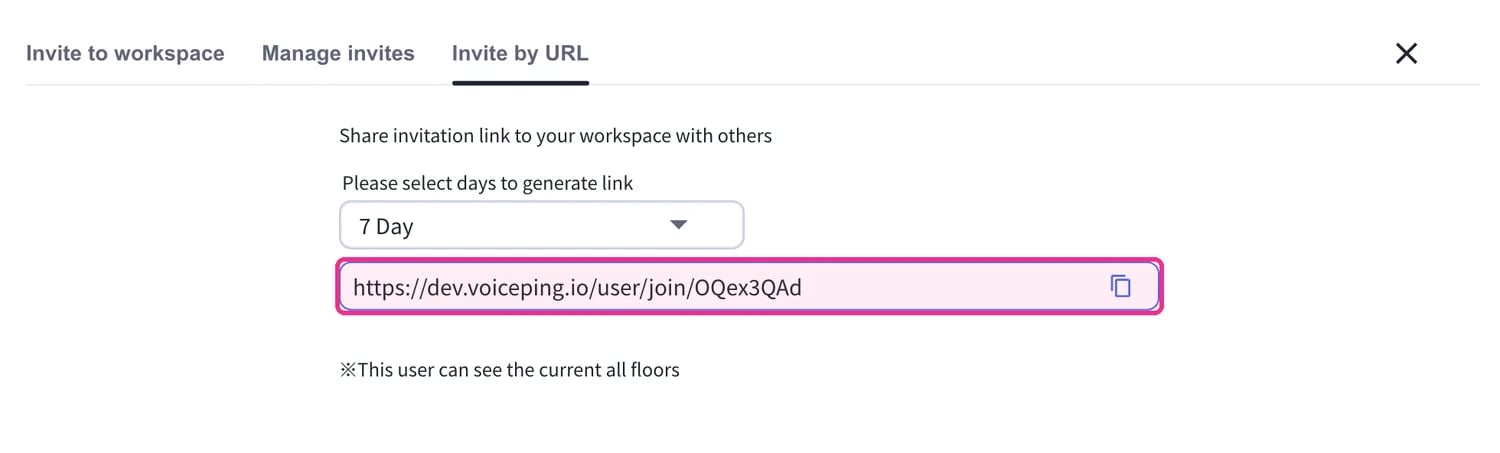
 2. Copy the generated link and share it with the people you want to invite.
 The **Manage invites** tab lists pending invitations and lets you resend or revoke them. On the **Enterprise** plan, a **User creation** tab also lets you create accounts directly with a temporary password, or bulk-import up to 50 users from a CSV file.
## Two-Factor Authentication
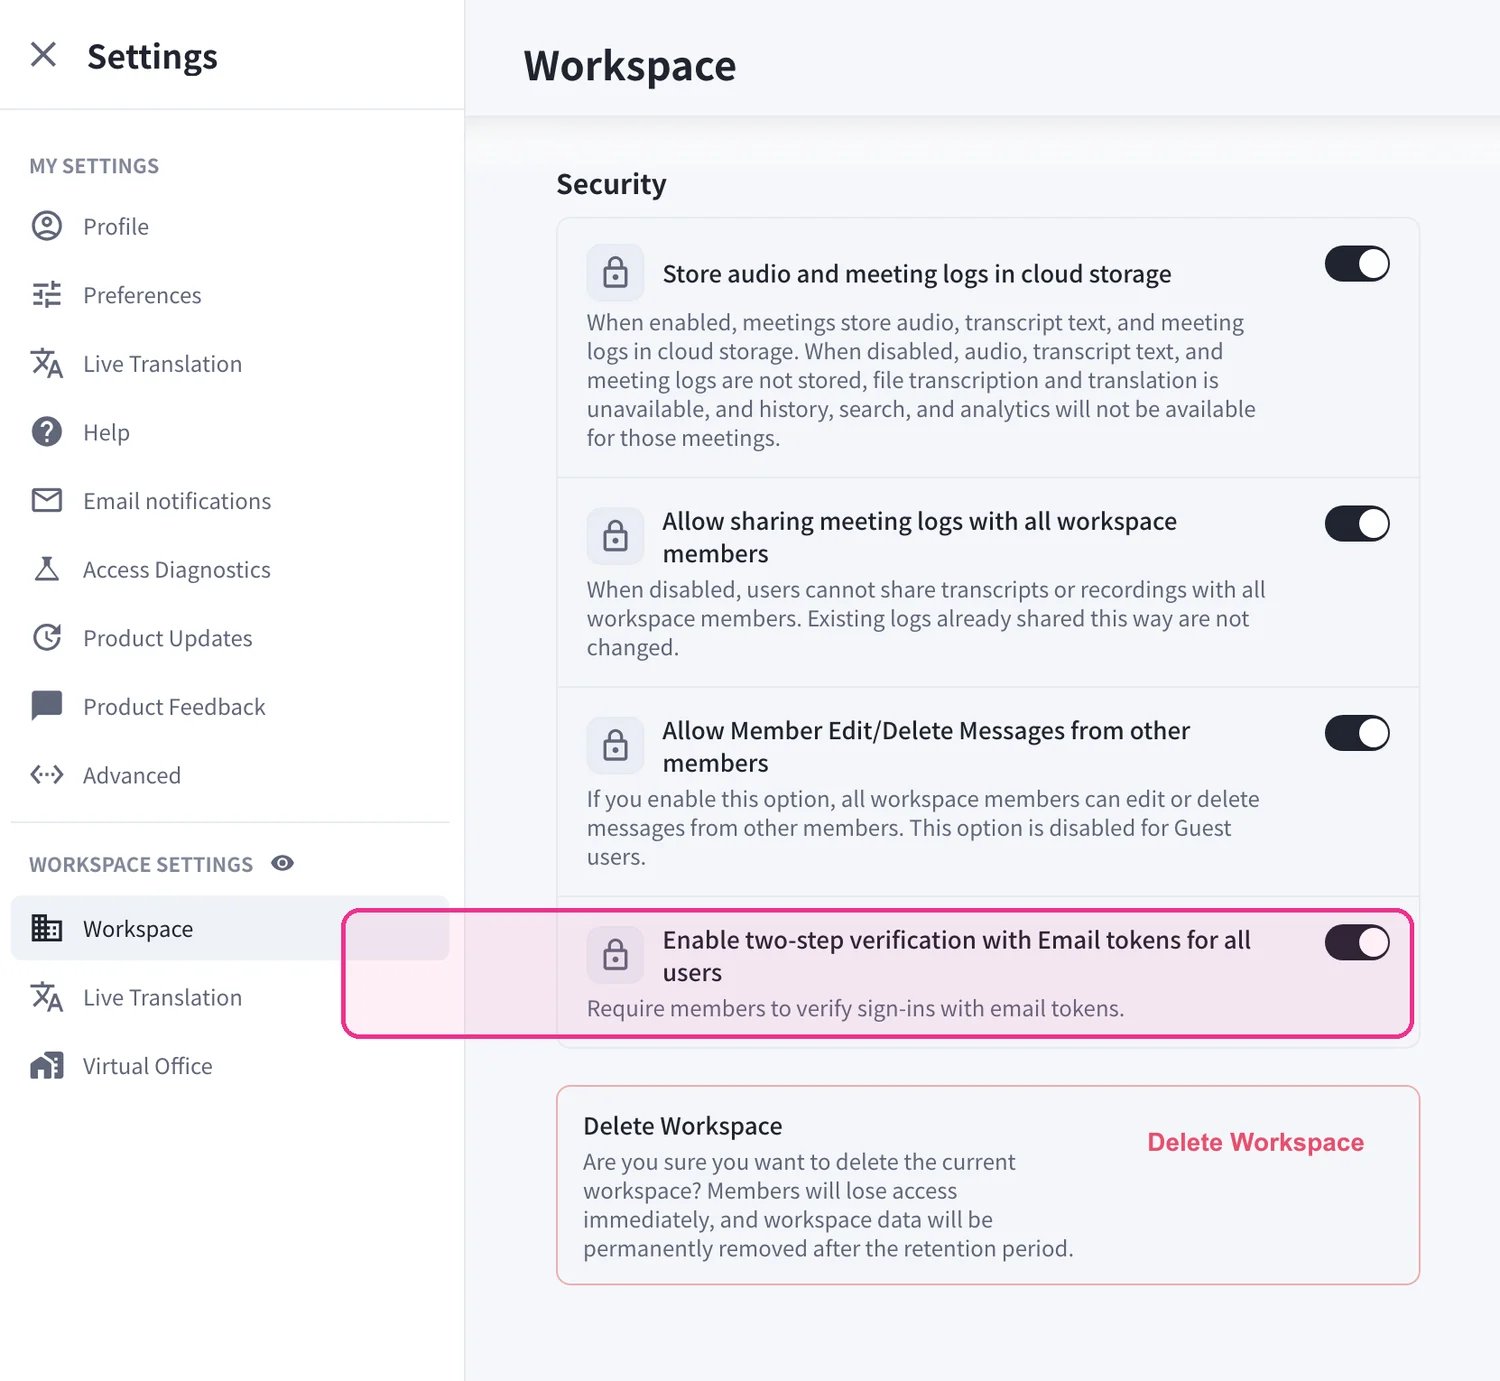
You can require email-based two-factor authentication for everyone in the workspace. Go to **Settings → Workspace → Security** and turn on **Enable two-step verification with Email tokens for all users** (available on paid plans).
The **Manage invites** tab lists pending invitations and lets you resend or revoke them. On the **Enterprise** plan, a **User creation** tab also lets you create accounts directly with a temporary password, or bulk-import up to 50 users from a CSV file.
## Two-Factor Authentication
You can require email-based two-factor authentication for everyone in the workspace. Go to **Settings → Workspace → Security** and turn on **Enable two-step verification with Email tokens for all users** (available on paid plans).
 * When enabled, invited members must verify their email when joining, so a new member can only register with the exact email address they were invited with.
* **As an exception**, members who sign in with a **Google or Apple account** do not need email verification.
* When enabled, invited members must verify their email when joining, so a new member can only register with the exact email address they were invited with.
* **As an exception**, members who sign in with a **Google or Apple account** do not need email verification.