> ## Documentation Index
> Fetch the complete documentation index at: https://manual.voiceping.net/llms.txt
> Use this file to discover all available pages before exploring further.
# Invoice Creation
> How to easily create invoices from time tracking logs
export const FeedbackEn = () => <>
Have an idea or request about this feature? Send it to the team via Product Feedback.
Official Links
Visit our official website
Follow us on X
Like us on Facebook
Connect on LinkedIn
;
The time tracking feature automatically records work logs, making it easy to create invoices.
## Issue an Invoice
1. Open **Time Tracking Admin** from the left sidebar and click the **Invoices** tab
2. Click the **New Invoice** button
3. Fill in the invoice details: From/To information, issue and due dates, invoice number, and currency
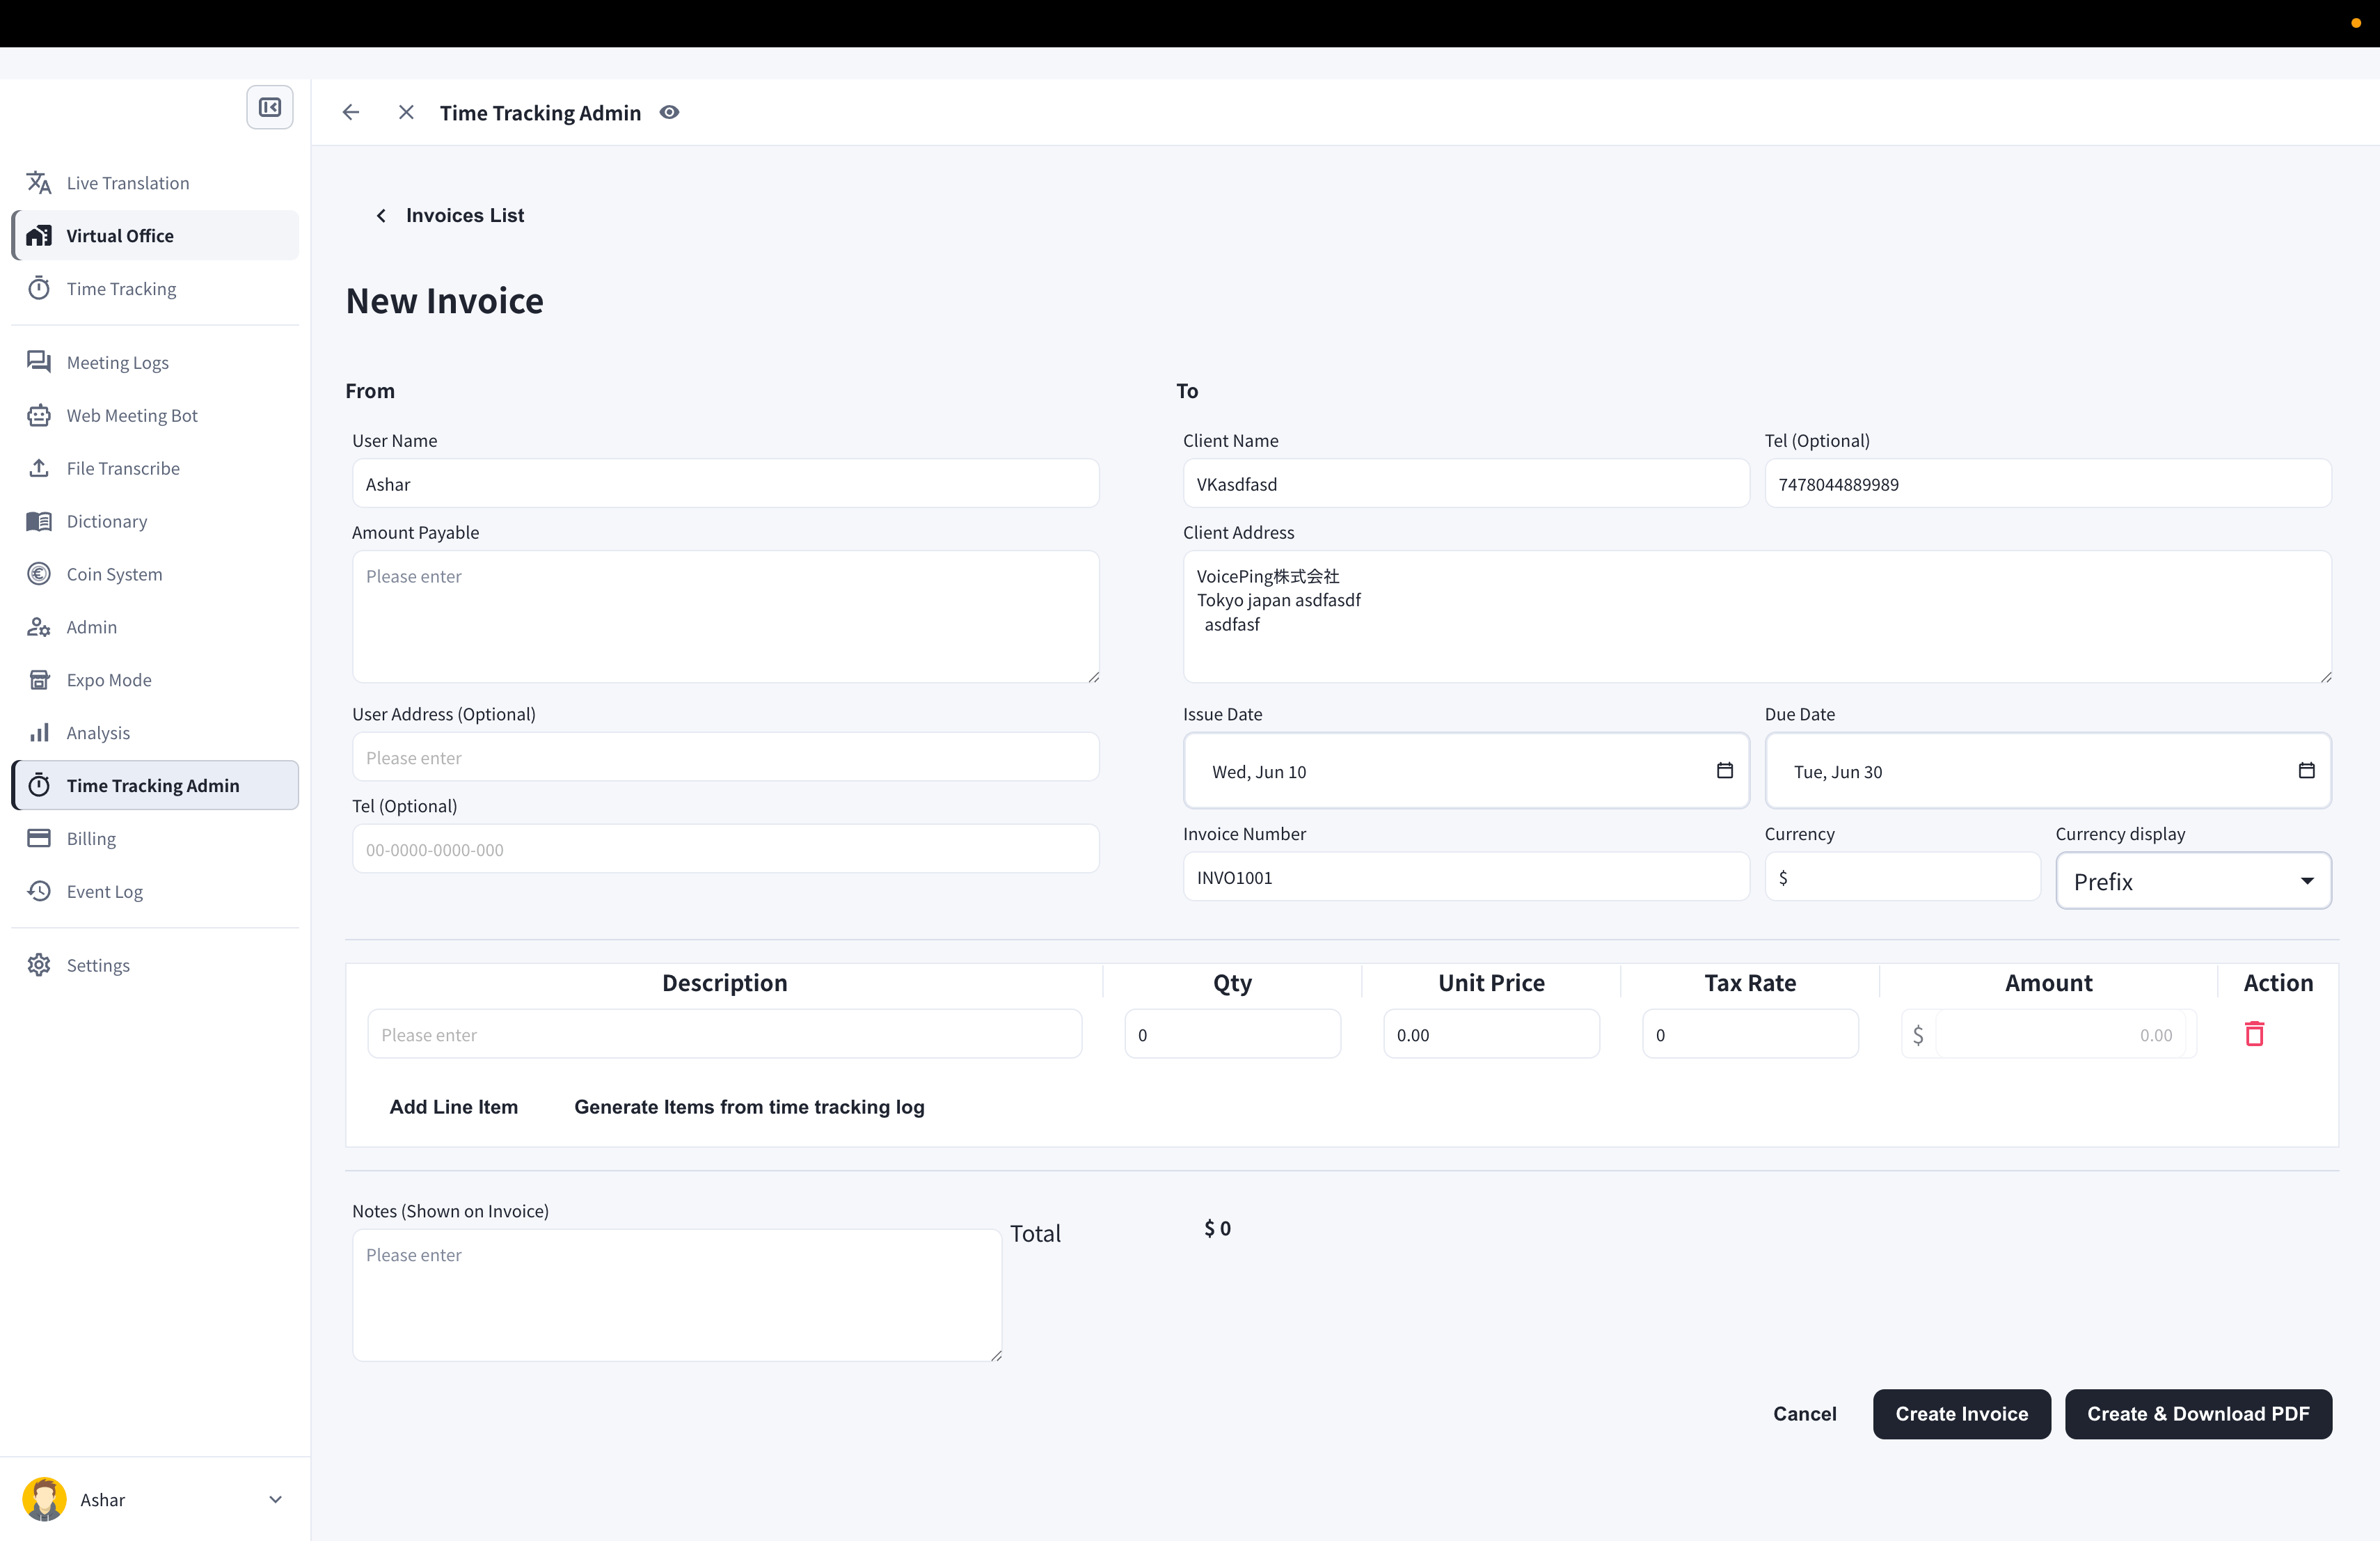 4. Click **Generate Items from time tracking log**
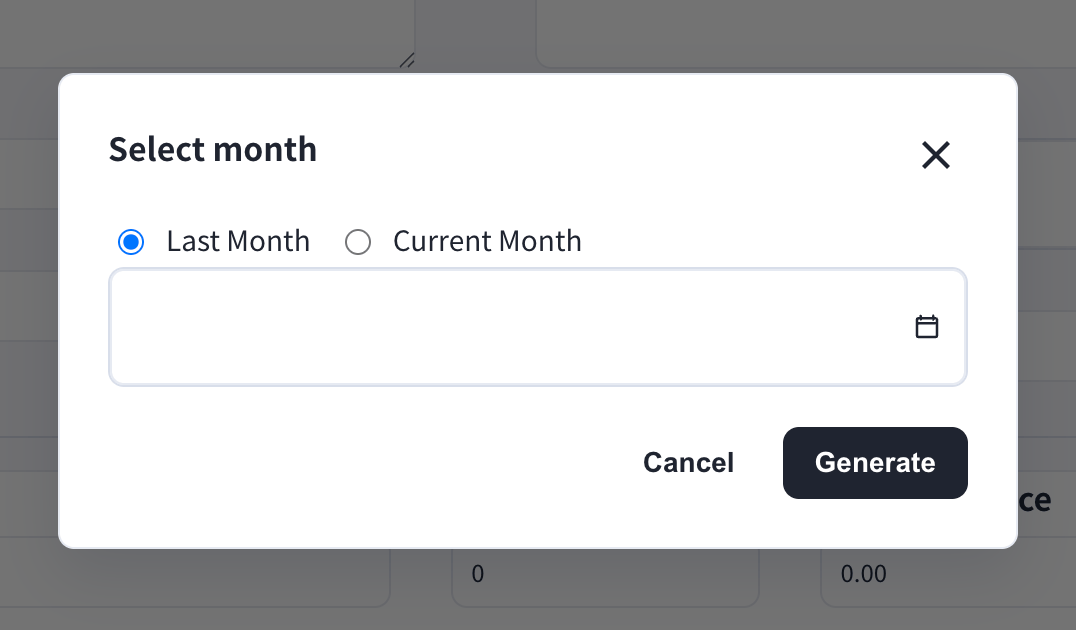
5. Choose **Last Month** or **Current Month** and click **Generate** — line items are created automatically from your work logs
4. Click **Generate Items from time tracking log**
5. Choose **Last Month** or **Current Month** and click **Generate** — line items are created automatically from your work logs
 6. Click **Create Invoice** or **Create & Download PDF**
If your manager has filled in the client billing details in **Invoice settings**, they are automatically entered in each new invoice.
If you have working hours that were not recorded in the app, you can add them by clicking **Add Line Item**. Each line item supports quantity, unit price, and tax rate.
## Edit an Invoice
1. In the invoice list, click the pen icon of the invoice you want to edit
2. After editing, click **Save Invoice** or **Save & Download PDF**
6. Click **Create Invoice** or **Create & Download PDF**
If your manager has filled in the client billing details in **Invoice settings**, they are automatically entered in each new invoice.
If you have working hours that were not recorded in the app, you can add them by clicking **Add Line Item**. Each line item supports quantity, unit price, and tax rate.
## Edit an Invoice
1. In the invoice list, click the pen icon of the invoice you want to edit
2. After editing, click **Save Invoice** or **Save & Download PDF**