Use this when…

Meeting recorded in Zoom or Teams cloud — upload for a searchable, editable bilingual transcript.

Stack of interview MP3s — upload overnight and review summaries and quotes the next morning.

Recorded sales call — review talk-time, objections, and follow-ups with a written record.
Foreign-language training / product-demo video — transcript + translation for reuse.
HR, compliance, or legal recordings — searchable and exportable.
Live transcription dropped mid-meeting — upload the local recording to recover the transcript.
One team records, another reviews later with translation — no scheduling across time zones.
Repurpose podcast / event audio into blog posts and social content from the transcript.
Highlights
- iOS and Android · upload multiple files in one batch (reorderable, renameable)
- Results appear in the normal transcript history alongside live meetings
- Same feature set as live sessions: edits, minutes, translation, dictionary, export
- Processing runs server-side — close the app and come back later
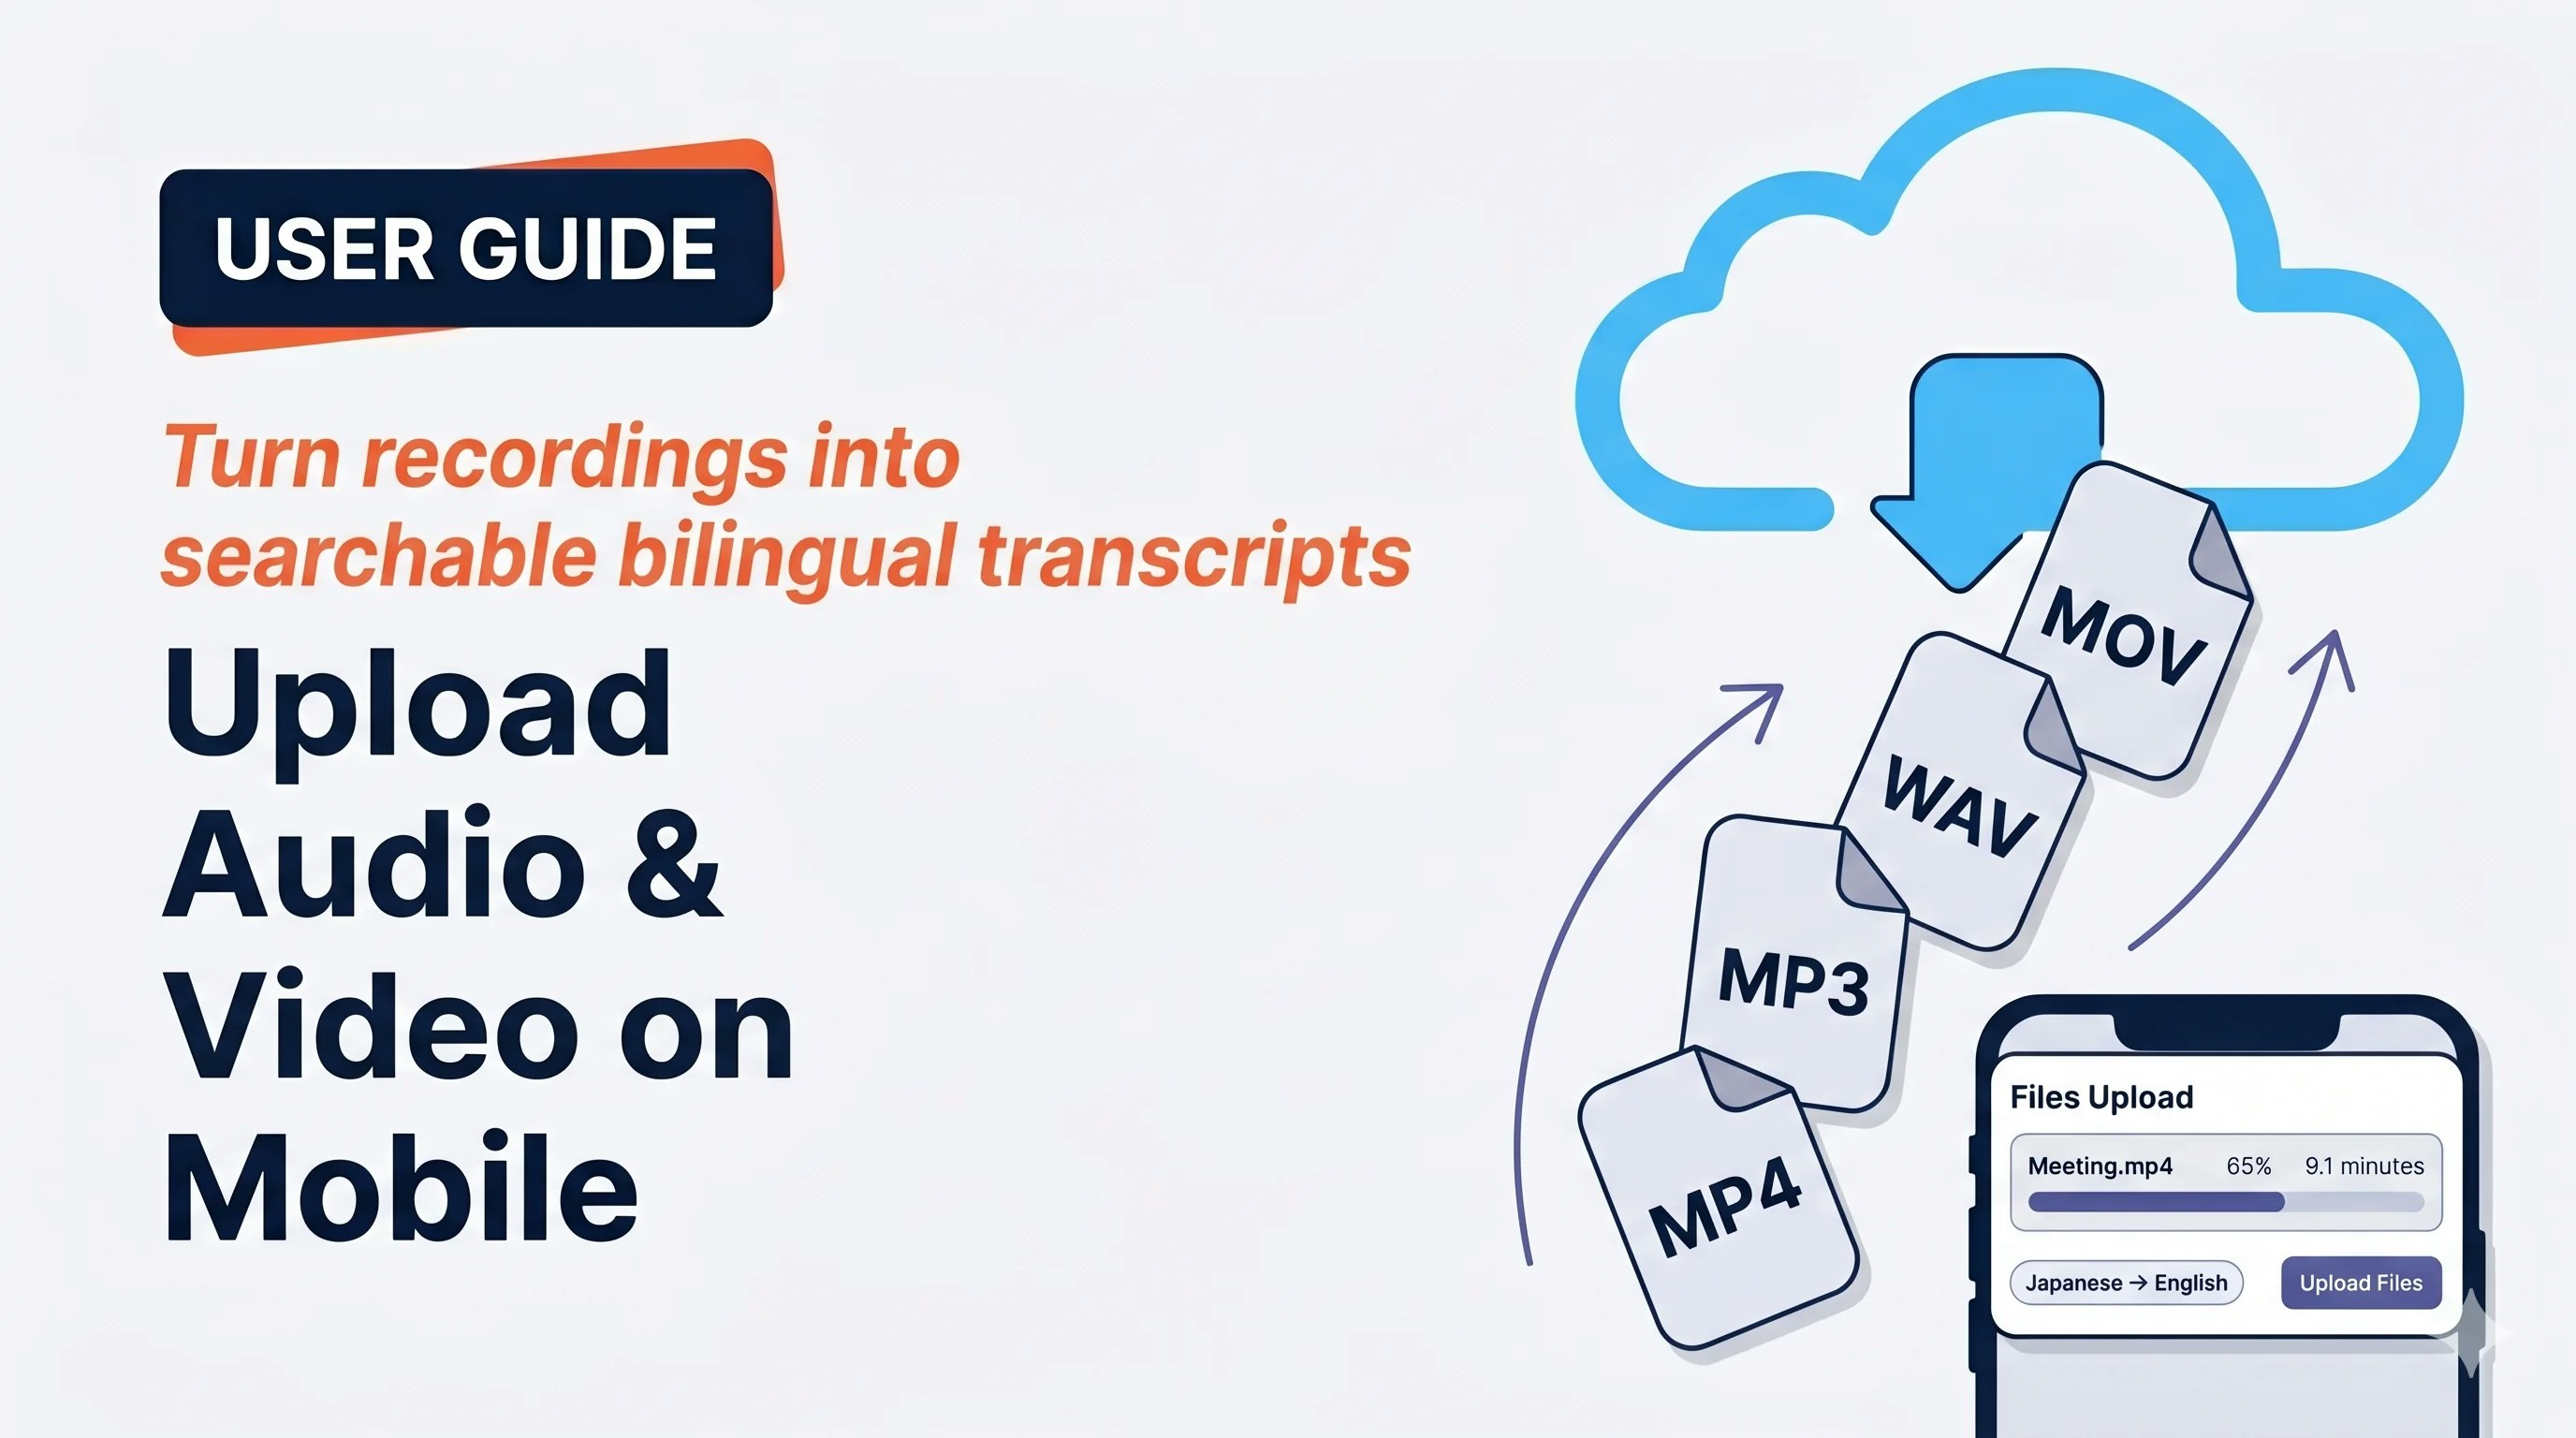
Upload a file
1
Tap + → Upload
From the home screen, open the session menu and choose Upload — “Upload audio or video files for transcription and translation.”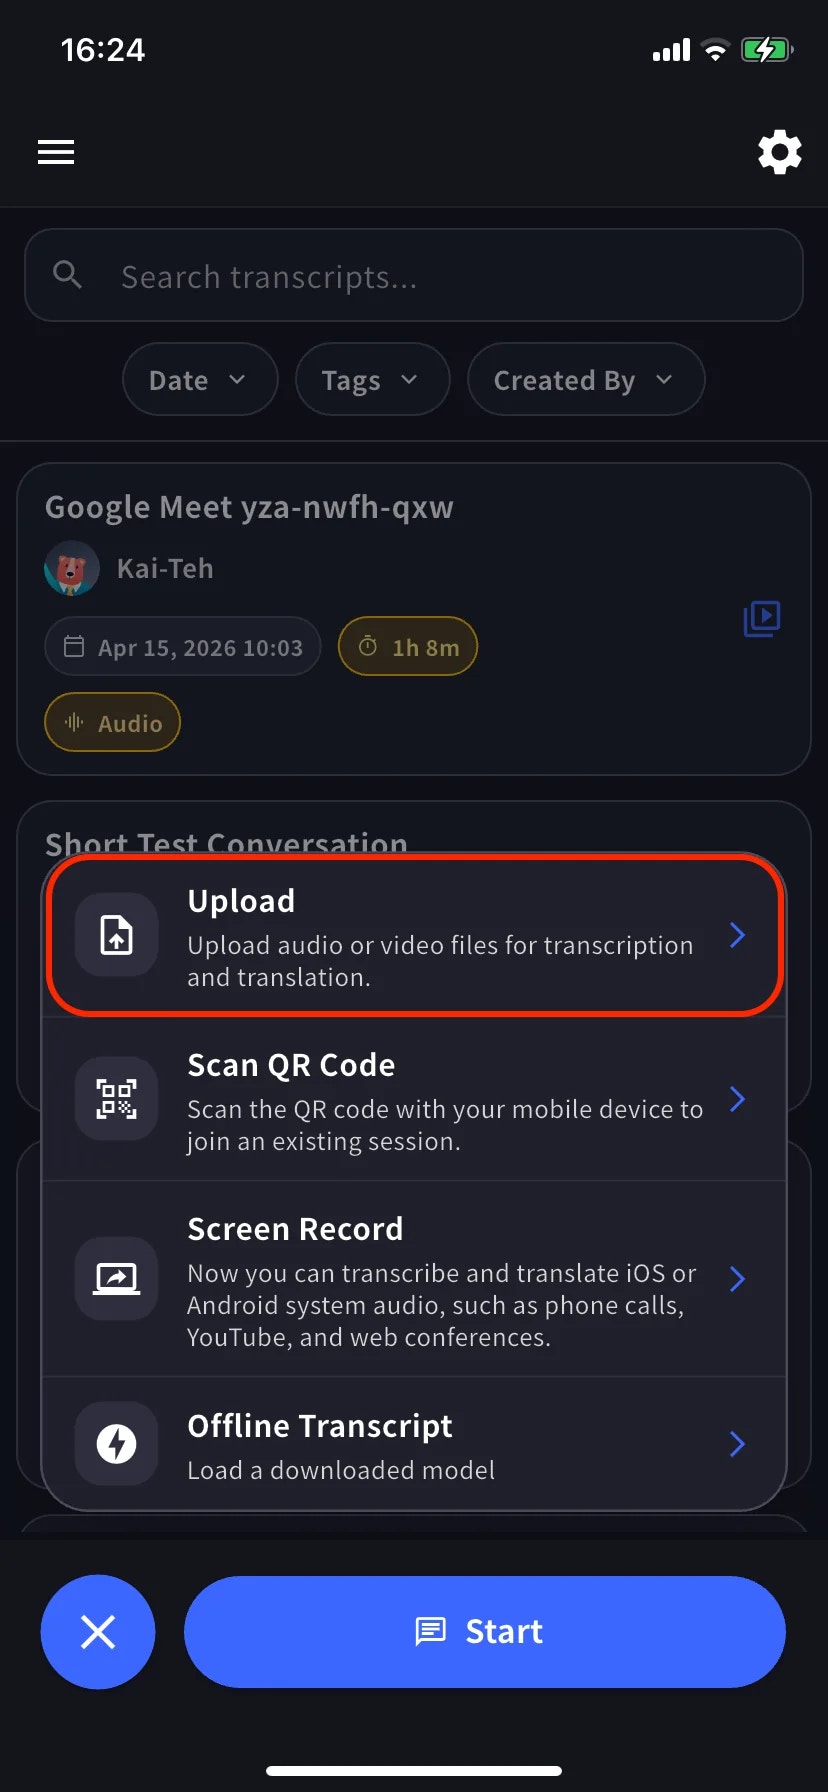
2
Set languages and submit
On the Files Upload screen, set transcription + translation languages, optionally rename files (pencil icon) or reorder (drag handle), and tap Upload Files. Add more files with the + in the top right.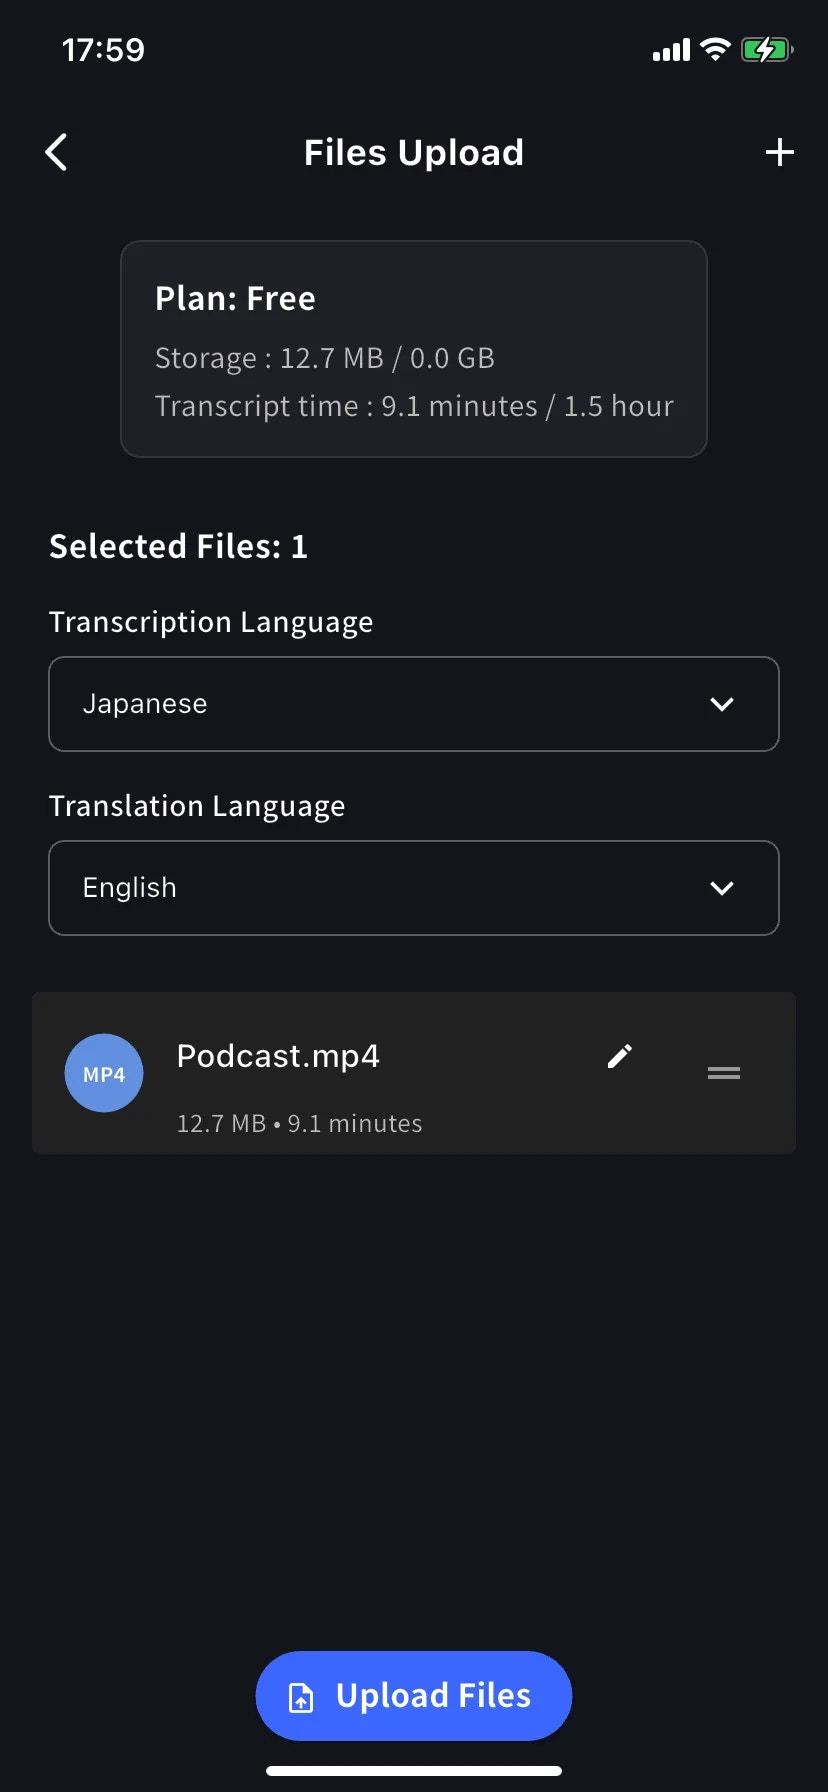
The plan card shows this month’s storage and transcript time usage. Long files fail if they exceed your transcript-time allowance — upgrade or split the file if needed.
3
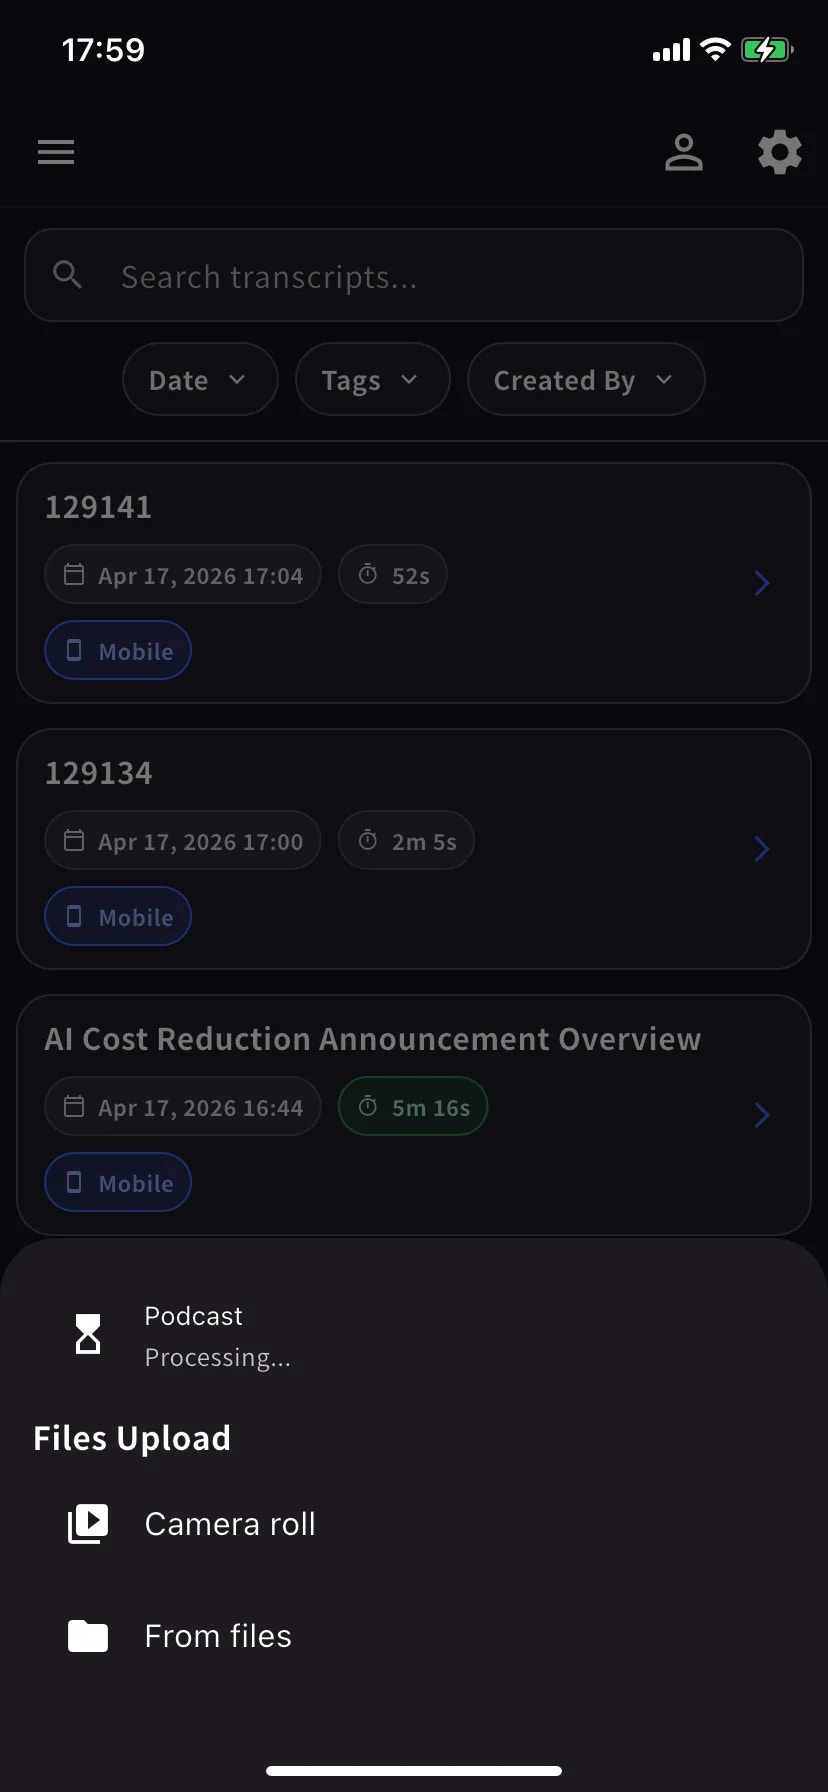
Wait for upload, then let the server process
A progress bar shows the upload. Once complete, the + menu’s Upload row shows 
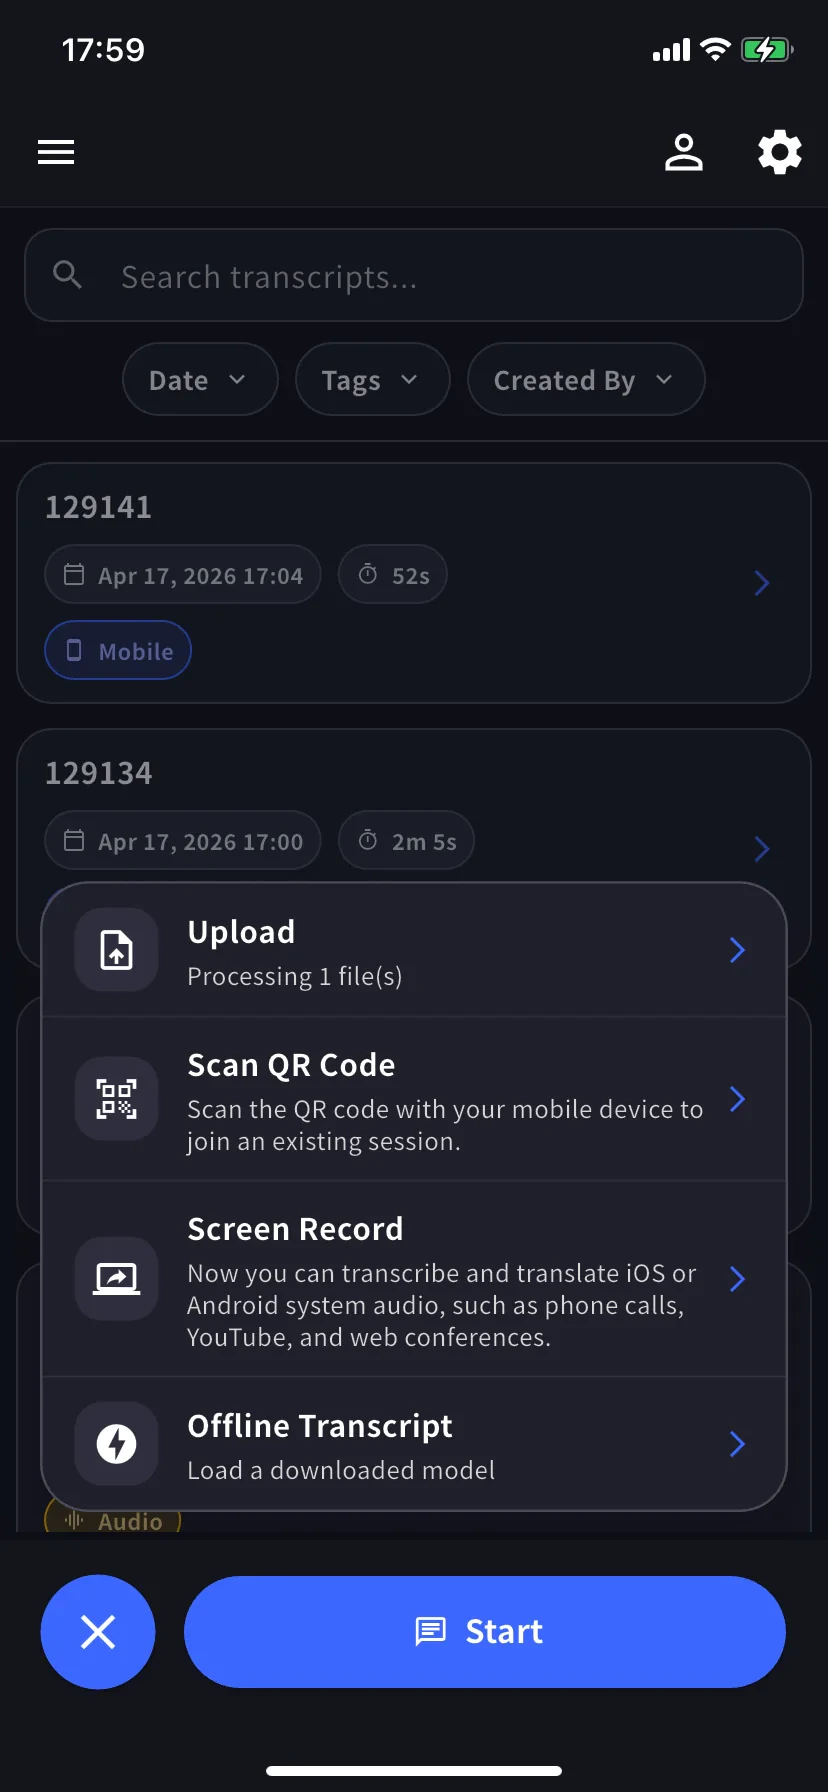
Processing N file(s) — that’s the signal you can safely close the app. Processing continues server-side.Working with the result
Same as any VoicePing meeting:- Edit rows, speakers · Speaker ID
- Generate meeting minutes
- Search across every transcript (live + uploaded)
- Export or share with the team
- Pre-load workspace Dictionary entries before upload for better accuracy on product/brand terms
Tips
- Audio quality matters — headset / direct recordings beat a phone held up to a speaker.
- Be explicit about the transcription language for mixed-language recordings — better than auto-detect.
- Rename before you upload — the pencil-icon name becomes the transcript title.
- Watch the quota card — upload fails if the file pushes you past the monthly transcript-time limit.
- Trim leading / trailing silence for a cleaner transcript.
Upload vs live capture
- Already have a recording → Upload (this page)
- Audio playing on your phone right now → Screen Record / Device Audio
- In-person conversation with no network → Offline Translation