
ip-whitelist for compatibility, but the current product label is IP Restriction.
IP Restriction is available on paid plans and is hidden on Free workspaces.
Open IP Restriction
- Open Admin.
- Select IP Restriction.
- Review the current IP shown on the screen.
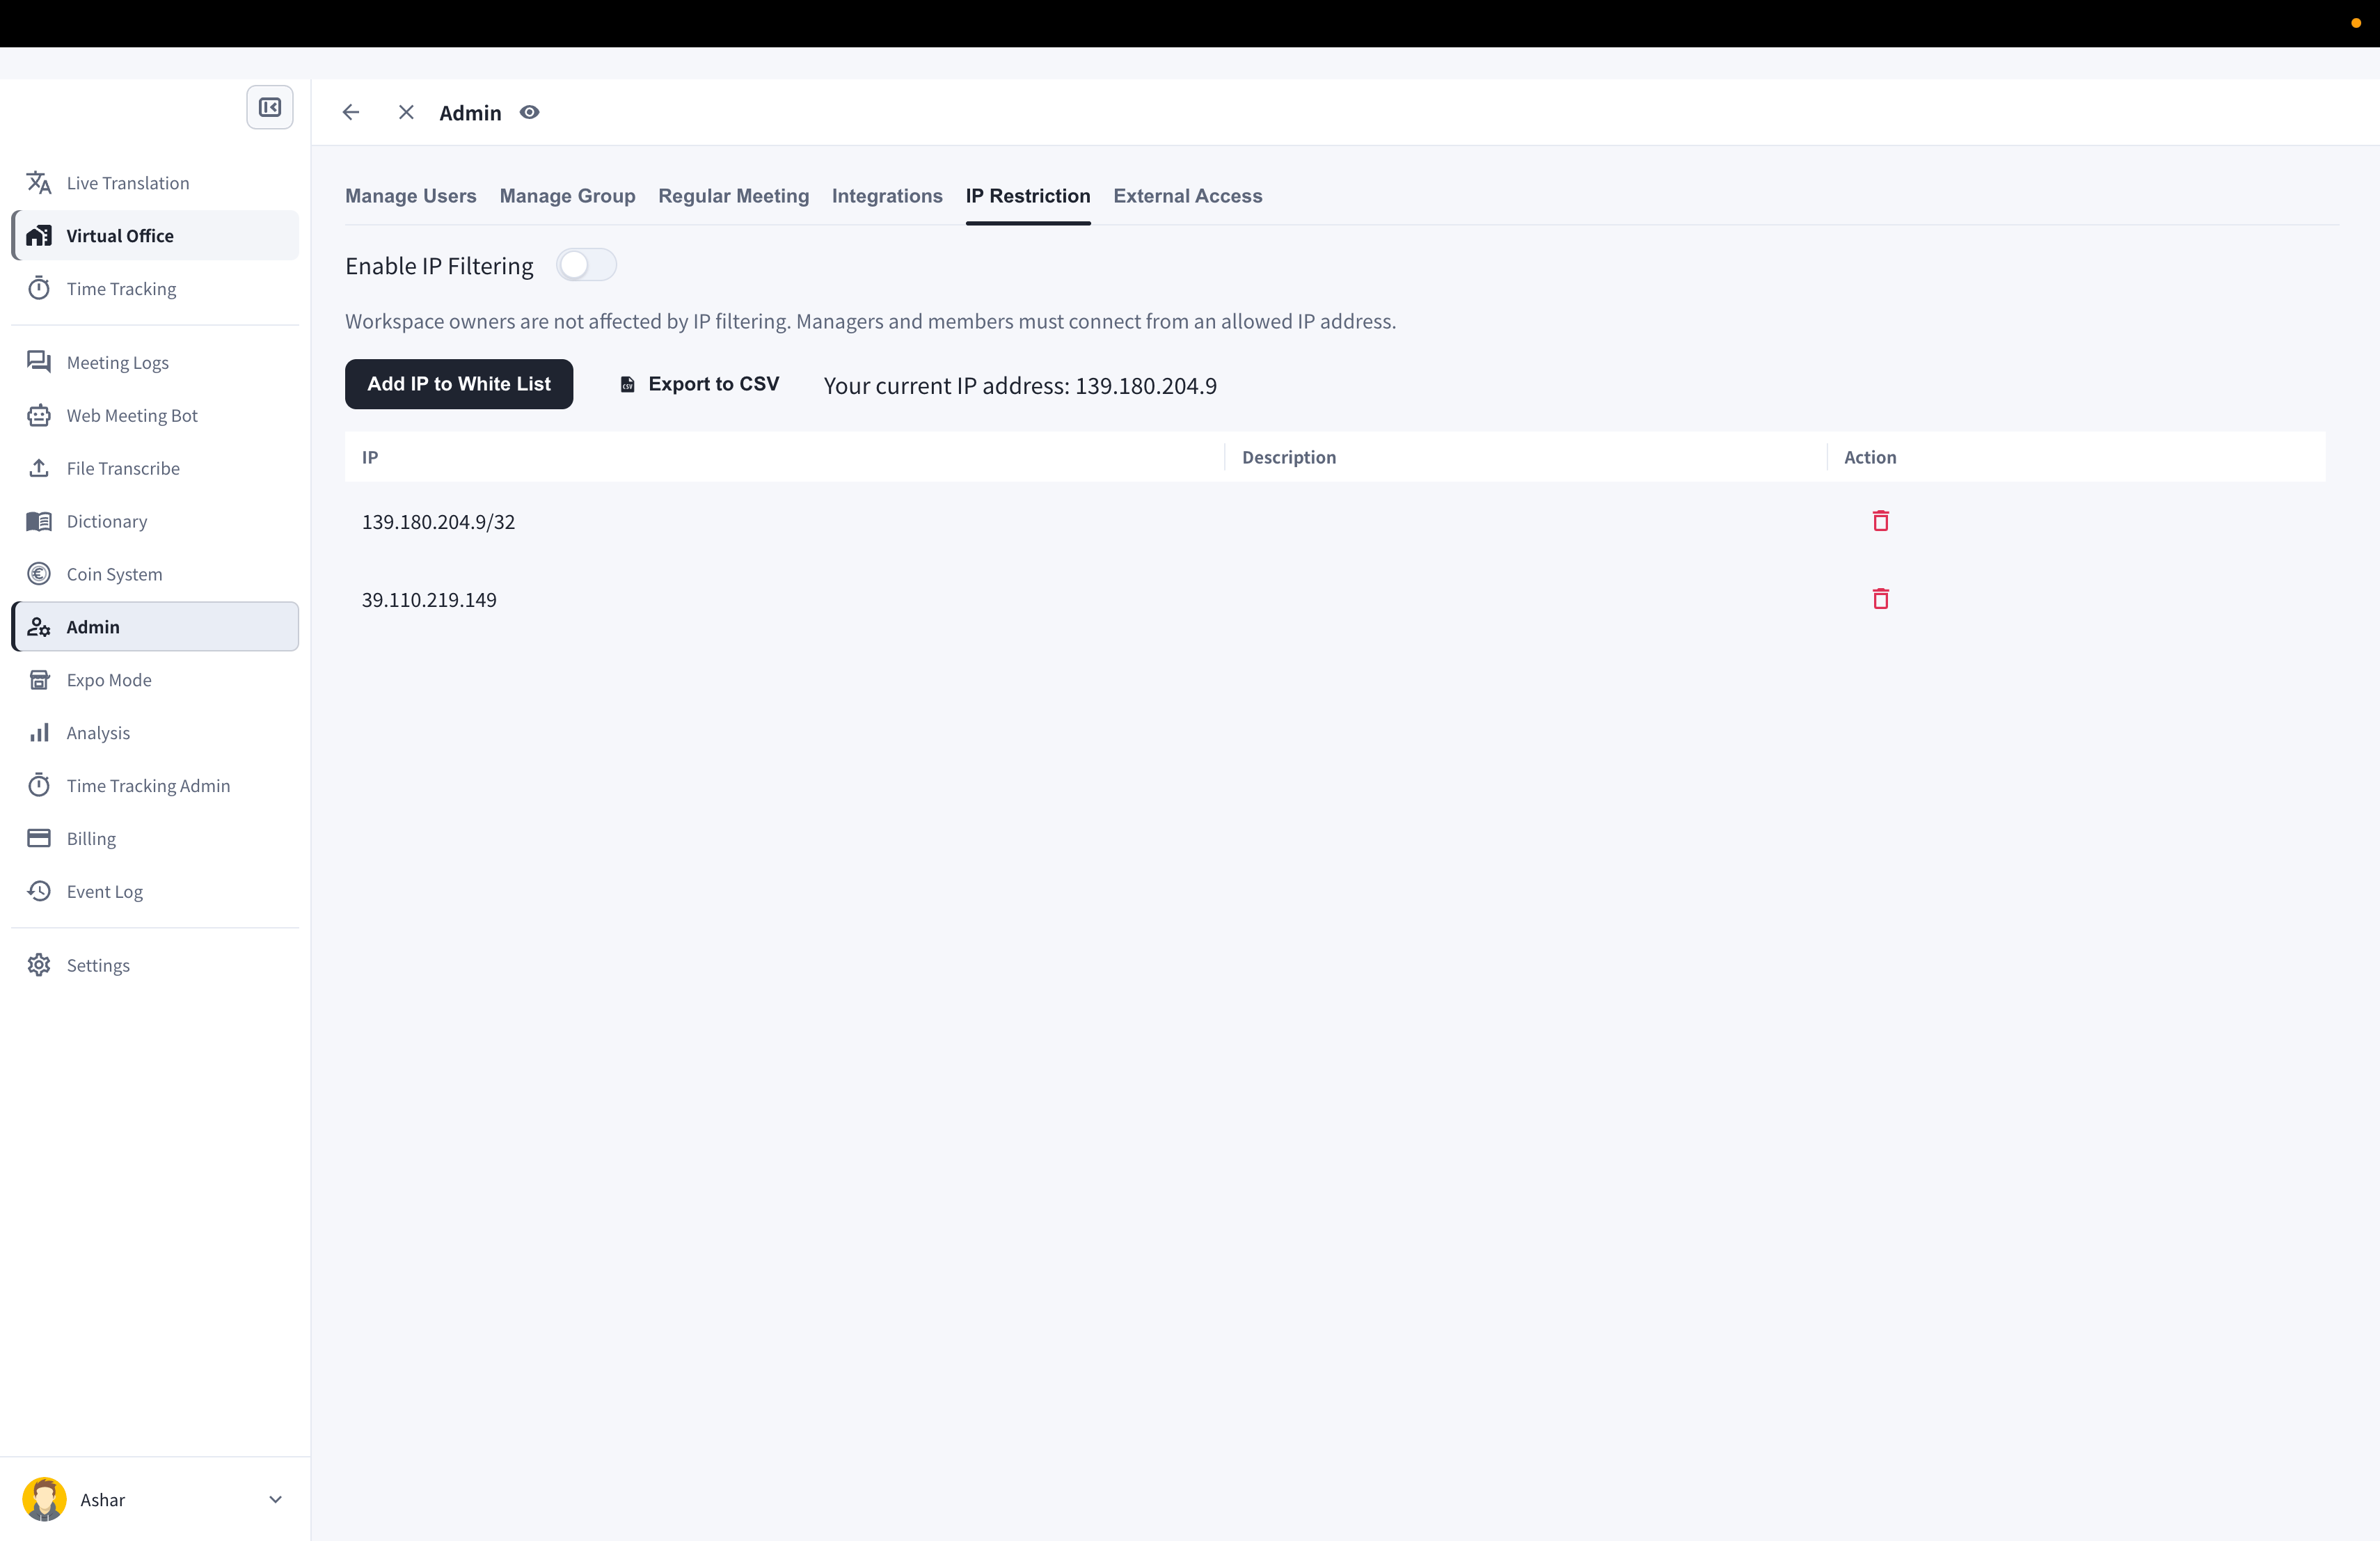
Enable Filtering
- Add at least one allowed IP address.
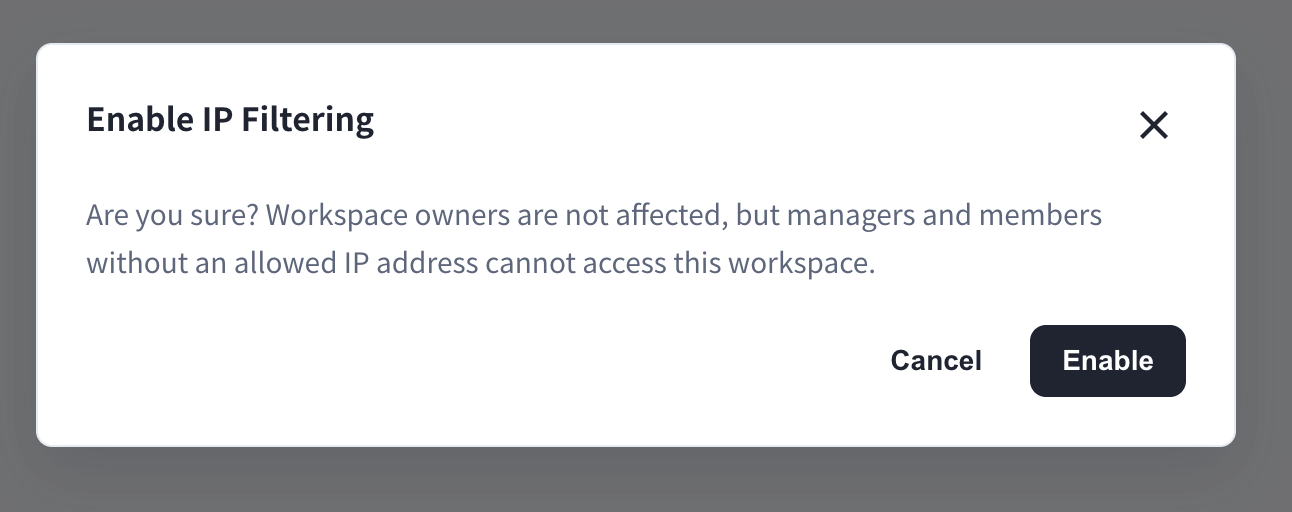
- Turn on Enable IP Filtering.
- Confirm the warning dialog.
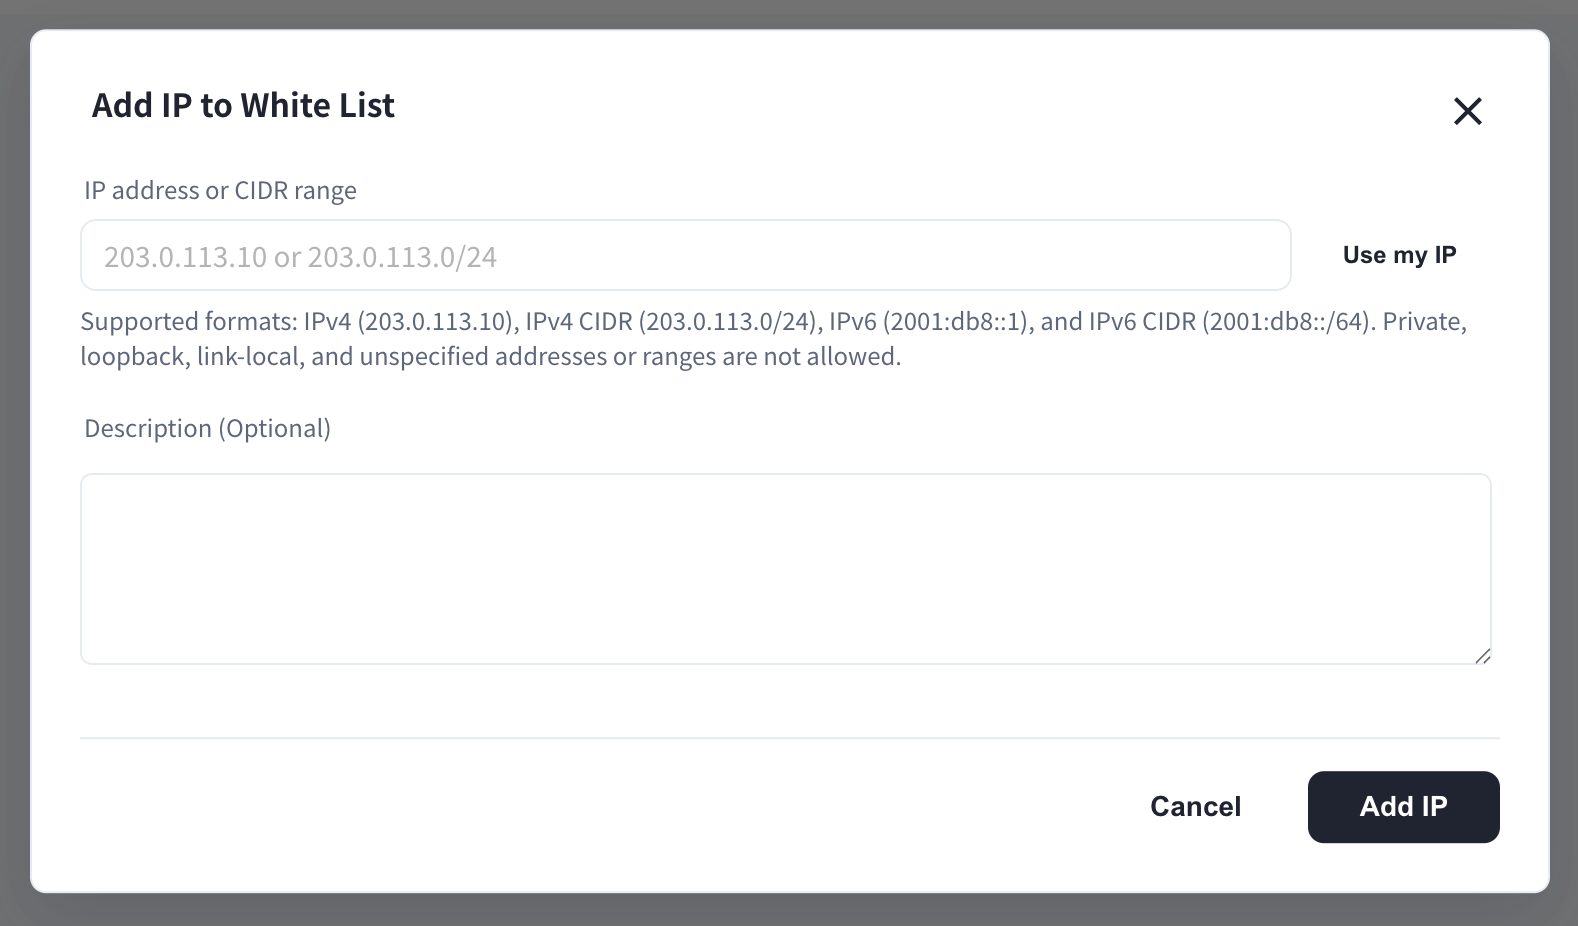
Manage Allowed IP Addresses
- Add an IP address with an optional memo or description.
- Delete IP addresses that should no longer be allowed.
- Export the list as CSV when needed.
Official Links
Official Website
Visit our official website
X (Twitter)
Follow us on X
Like us on Facebook
Connect on LinkedIn